
Restoration Hardware Inspired DIY Wainscoting & Chair Rail
/
Once upon a time, our combined living and dining room was little man's bachelor pad. It came equipped with a (toy) kitchen, a parking pad for his (toy sit-on) car, and a sports court on the left side.

Not a very clear photo, but you get the idea of the expanse of little man's territory!
His "bachelor pad" took over that side of OUR house, and the Mr. decided to kick the tenant out before he marked further territory. Truth was, little man grew out of those (toy) amenities and decided he would take over part of the basement as his floor hockey arena instead. Great timing on his part, for daddy and mommy landlords to purchase our dining table and chairs.
We loved the rustic style of our baluster dining table, and the tufted dining chairs. However, the bare walls seemed to be too plain in comparison. We figured adding some wainscoting and a chair rail would create some needed balance on the walls. So I embarked on the search of inspirations for the Mr. to try his carpentry skills on.

via http://classy-inthecity.com

via www.houzz.com

via www.mhouseinc.com
We decided to use thick wood trims to create the frames of each panel to add some depth. Trims that are too thin would just disappear in the large room. We also used a tall chair rail to balance the thick wainscoting frames. The space between each frame is around 3", which seemed to be the optimal distance - just wide enough to look un-crowded, and close enough for a cohesive look.
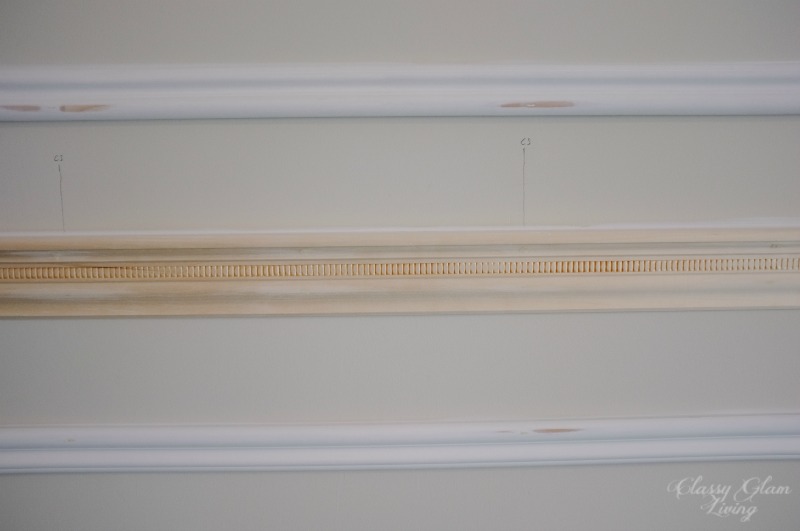
Close-up of frame trims and chair rail details.
After the Mr. marked out the dimensions of the frames with painter's tape, he was onto project "a frame a night". He cut the wood trims to size of each panel, used carpenter glue to connect each corner and clamp down overnight. The same routine went on each night until all frames were completed. Unfortunately, I have no pictures of the making of the frames in progress =(
He first installed the chair rail around the room, levelling the rail as he nail-gunned into the studs. We installed the chair rail at the same height as the half wall for a continuous line, viewed from inside the room.
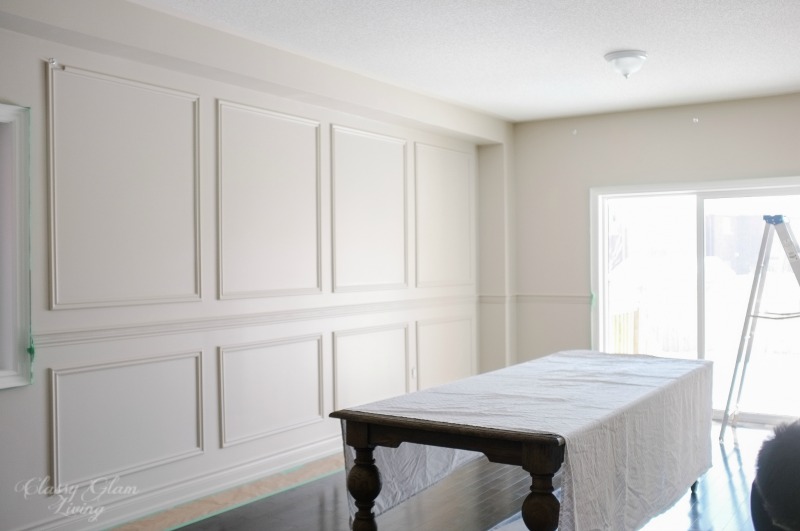
The Mr. then began installing the frames starting at the short wall. It was just easier to deal with the 3 frames across the wall and to learn from any mistakes from there. On the short wall, we decided on a large middle section and two narrower frames on either side. Our original plan was to install wall sconces on those two side panels, but of course, our design plan has changed from then!
Next was installing the upper and lower frames around the rest of the walls as marked.
We like the unified look of using the same color on the walls, trims and baseboards, as in the inspiration photos above. We think using the same colour throughout would make the walls a somewhat muted canvas, letting the furniture pieces speak for themselves as main focal points.
The chair rail and wainscoting warrant a dramatic color. We narrowed down to 2 colors, as below:

On the left is Benjamin Moore's Inukshuk, on the right BenMoore's Silver Fox. We chose to go with the lighter of the two. It's a light taupe that's more cream in daylight but still dark enough for dramatic ambiance at night.

1. Our dining/ living room is open to the rest of the floor, so the Mr. carefully taped around the edge of the adjacent wall (we only wanted the chosen color for the dining/ living room); 2. Kraft paper was laid and taped to protect the hardwood floor from paint drips, and made painting the baseboards a lot easier; 3. The Mr. removed all faceplates of electrical outlets, and... 4. marked them by corresponding numbers on the switches and outlets, so that reinstalling would be a breeze.
Here are some photos of the completed project.
You can see how the Inukshuk color turns to a creamy taupe in sunlight...

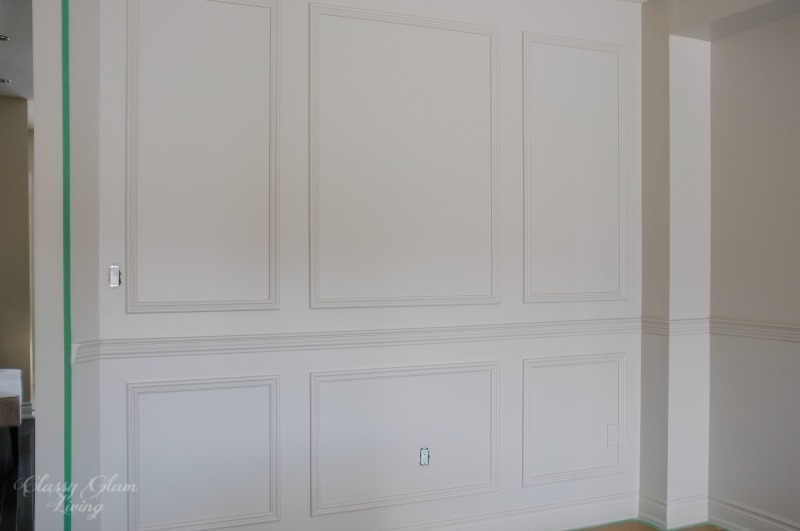
... and in the photo below in darker light, the color turns to a darker taupe. It gives the panel frames more definition.

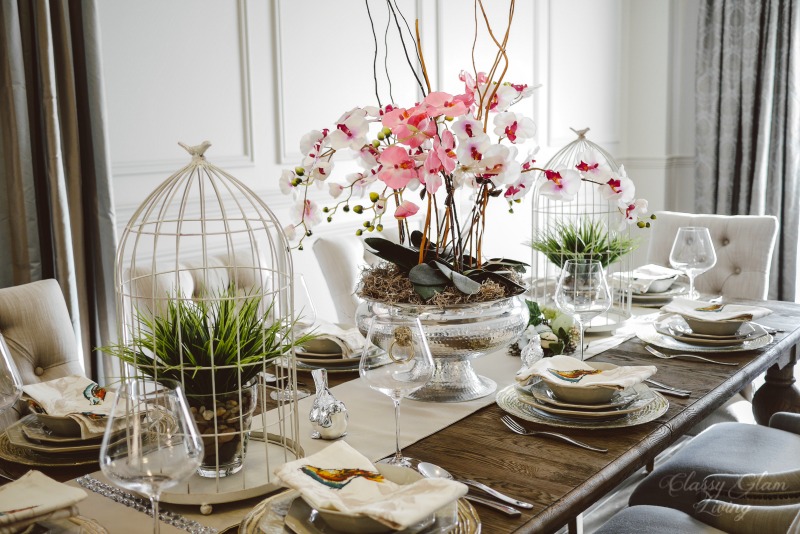
I was so delighted that the Mr. completed our Restoration Hardware inspired dining room. It's personal touches like these that transform a plain builder's room to one that reflects the homeowners' style.


Now our dining table no longer feels lonely in a room of blank canvas. The wall detailing enhances the look and feel of our dining room furniture.
Have you recently been inspired by your furniture to make enhancements to your rooms?


