Our Recent Trip to Chicago - Home Decor Edition

Chicago Trip - Home Decor Edition | Classy Glam Living

We were on a much needed R&R trip (read Rest and Retail therapy ha!) to Chicago last week.  Of course, we just couldn't help but also checked out some decor and home accessories along the way.  Here are some snippets of our trip, home decor edition.

With the Mr. being a beer lover, where else would be a better place to go on our first night in town than Hofbrauhaus!   It's a German micro brewery/ beer hall - the place to be for a guys' night out!  Aside from the beers and sausages, I was impressed with the hall's great ambiance, high ceilings, casual air mixed with traditional architecture and large windows.  I wasn't even bothered when the guys around us were paddled in their butts as they ordered rounds of shots (a tradition, as we were told by our server).  Our friends pointed out this remarkable wall of locked beer mugs.  All of them have beautifully crafted distinctive details.

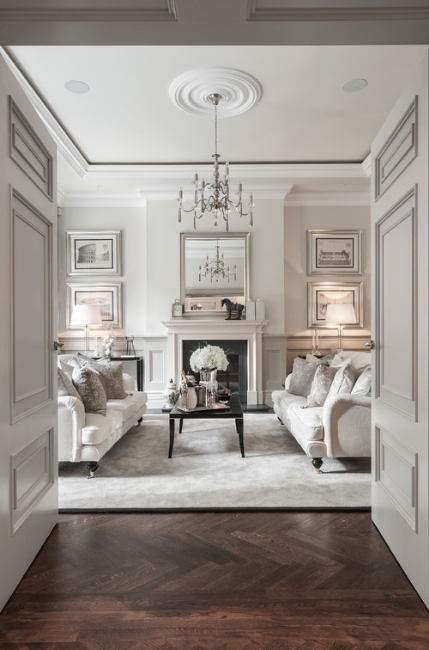
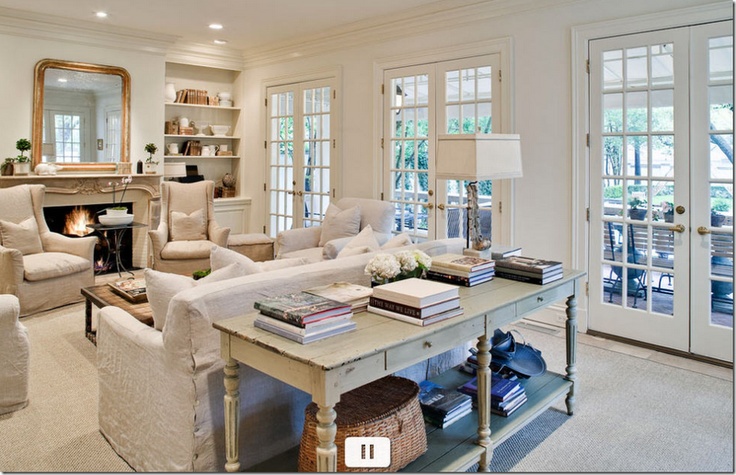
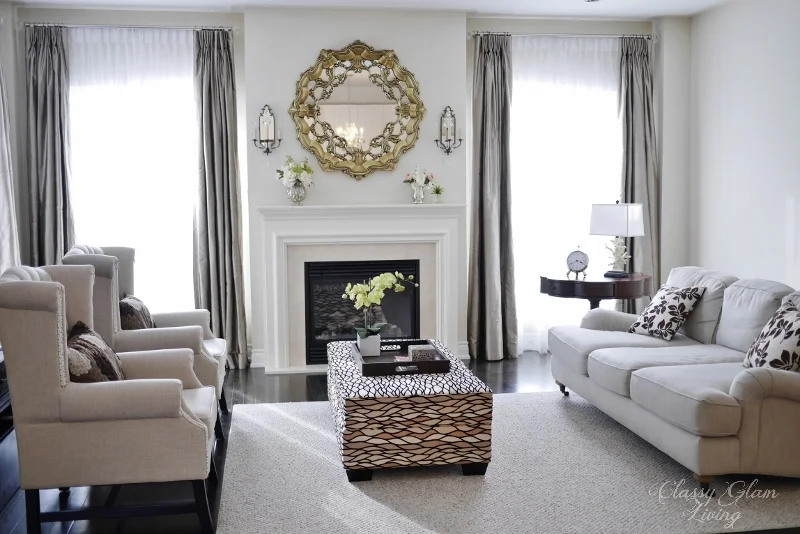
We always love wandering into Z Galleries - we can easily get lost in the store for hours if we didn't have little man with us.  The furniture pieces, home accessories, and artwork are all curated to our liking!

I always love single seat cushion sofas, like this one below.  No one would need to sit on the crack between seat cushions.  Also loving the curved legs and detailing on the sides of the chrome coffee table.  We're on a hunt for a bar cart as well, and this one is a mix of classic contemporary.

Z Galleries Chrome coffee table and bar cart | Classy Glam Living

Love this dining table vignette, and that thick giant silver mirror tray.  It looked stunning in person, and the thickness of the rims screamed elegance.

Silver Mirror Tray | Z Galleries | Classy Glam Living

The Mr. said, the office would rock this trunk style architect desk.  It has a darkened mirror top is an intelligent touch, such that it doesn't compete with its chrome sides.  This is such a cool piece!

Chrome Trunk Style Architect Desk | Z Galleries | Classy Glam Living

Speaking of the home office, a group of these deer and moose antlers in gold and silver would definitely make a statement for our nook area.

Gold and Silver Antlers | Z Galleries | Classy Glam Living

This bench was placed with the dining table at the store, but I think it's just the perfect piece for our foot-of-the-bed bench.

Rustic wooden bench | Z Galleries | Classy Glam Living

During our raid at Neiman Marcus, we also stopped on the home accessories floor.  I finally got to see in person this jaw-droppingly gorgeous Cheval bar cart by Jonathan Adler.  Loving the regality of the sculpted horse head finials at the corners and the lucite detail on the handle bar.

Jonathan Adler bar cart | Classy Glam Living

And this crystal decanter set with simple lines would go nicely on any barcart!

Neiman Marcus crystal decanter set | Classy Glam Living

For my love of all things agate and geodes!  That huge gold-rimmed geode platter glams up any dinner parties!

Neiman Marcus agate collection | Classy Glam Living

This collection of crystal vases and giant obelisk (at least 2.5' high!) will for sure create a statement on a console table.

Neiman Marcus Crystal vases and obelisks collection | Classy Glam Living

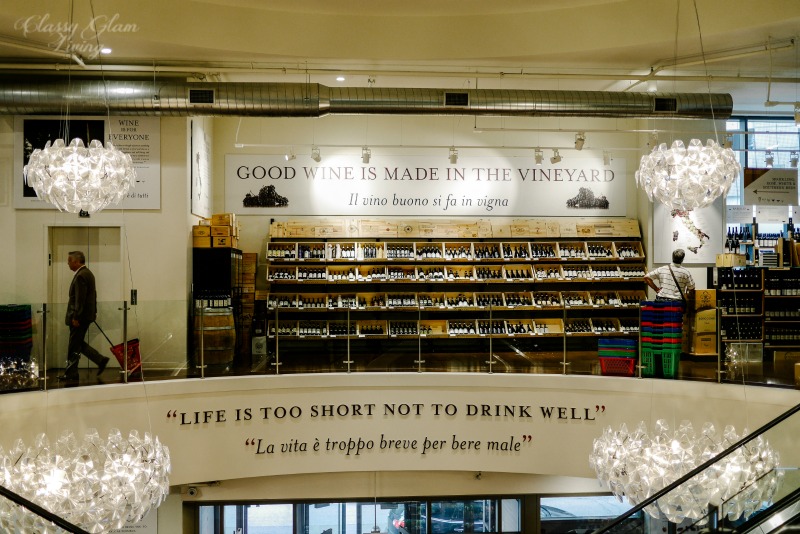
Knowing that we're foodies, our friends brought us to Eataly.  The interiors were nice and bright, desserts were delicious, walls of cheeses and cured meats were impressive, and the espressos...  to die for!

View from 2nd floor Eataly | Classy Glam Living

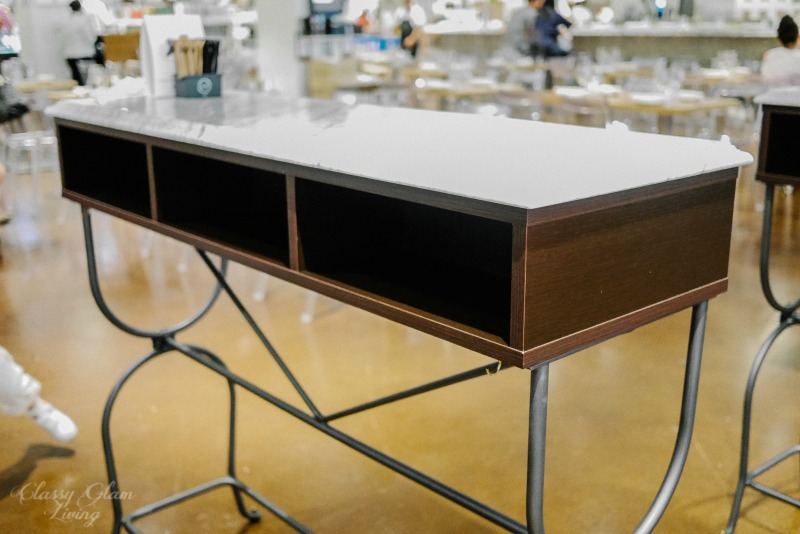
The eatery on the second floor of Eataly has industrial style standing height tables.  The marble tops of the tables elevate their utilitarian look.  A lower version of it may work as our powder room vanity, with a bowl sink on the marble counter.  Those slots under the marble top can be storage for hand towels or bathroom tissues.  Funny, the inspirations I got even at eateries!

Marble top standing tables Eataly Chicago | Classy Glam Living

It sure was nice to reminisce about our Chicago trip...  the fun little boat cruise on the Chicago river, the food and drinks, the shopping, and of course having great hosts during our trip!  The trip sure did serve its R&R purpose!  Now back to the grind....  and daydream about our next vacation!

Restoration Hardware Inspired DIY Wainscoting & Chair Rail

Restoration Hardware Inspired DIY Wainscoting & Chair Rail Installation | Classy Glam Living

Once upon a time, our combined living and dining room was little man's bachelor pad.  It came equipped with a (toy) kitchen, a parking pad for his (toy sit-on) car,  and a sports court on the left side.  

Not a very clear photo, but you get the idea of the expanse of little man's territory!

Not a very clear photo, but you get the idea of the expanse of little man's territory!

His "bachelor pad" took over that side of OUR house, and the Mr. decided to kick the tenant out before he marked further territory.   Truth was, little man grew out of those (toy) amenities and decided he would take over part of the basement as his floor hockey arena instead.  Great timing on his part, for daddy and mommy landlords to purchase our dining table and chairs.

We loved the rustic style of our baluster dining table, and the tufted dining chairs.  However, the bare walls seemed to be too plain in comparison.  We figured adding some wainscoting and a chair rail would create some needed balance on the walls. So I embarked on the search of inspirations for the Mr. to try his carpentry skills on.  

via http://classy-inthecity.com

via http://classy-inthecity.com

via www.houzz.com

via www.houzz.com

via www.mhouseinc.com

via www.mhouseinc.com

We decided to use thick wood trims to create the frames of each panel to add some depth. Trims that are too thin would just disappear in the large room.  We also used a tall chair rail to balance the thick wainscoting frames.  The space between each frame is around 3", which seemed to be the optimal distance - just wide enough to look un-crowded, and close enough for a cohesive look.

Close-up of frame trims and chair rail details.

Close-up of frame trims and chair rail details.

After the Mr. marked out the dimensions of the frames with painter's tape, he was onto project "a frame a night".  He cut the wood trims to size of each panel, used carpenter glue to connect each corner and clamp down overnight.  The same routine went on each night until all frames were completed.  Unfortunately, I have no pictures of the making of the frames in progress =(

He first installed the chair rail around the room, levelling the rail as he nail-gunned into the studs. We installed the chair rail at the same height as the half wall for a continuous line, viewed from inside the room. 

The Mr. then began installing the frames starting at the short wall.  It was just easier to deal with the 3 frames across the wall and to learn from any mistakes from there.  On the short wall, we decided on a large middle section and two narrower frames on either side.  Our original plan was to install wall sconces on those two side panels, but of course, our design plan has changed from then!

Next was installing the upper and lower frames around the rest of the walls as marked. 

We like the unified look of using the same color on the walls, trims and baseboards, as in the inspiration photos above.  We think using the same colour throughout would make the walls a somewhat muted canvas, letting the furniture pieces speak for themselves as main focal points.

The chair rail and wainscoting warrant a dramatic color.  We narrowed down to 2 colors, as below:

DIY Wainscoting and Chair Rail Installation | Color Choice | Classy Glam Living

On the left is Benjamin Moore's Inukshuk, on the right BenMoore's Silver Fox.  We chose to go with the lighter of the two.  It's a light taupe that's more cream in daylight but still dark enough for dramatic ambiance at night. 

1. Our dining/ living room is open to the rest of the floor, so the Mr. carefully taped around the edge of the adjacent wall (we only wanted the chosen color for the dining/ living room); 2. Kraft paper was laid and taped to protect the hardwood flo…

1. Our dining/ living room is open to the rest of the floor, so the Mr. carefully taped around the edge of the adjacent wall (we only wanted the chosen color for the dining/ living room); 2. Kraft paper was laid and taped to protect the hardwood floor from paint drips, and made painting the baseboards a lot easier; 3. The Mr. removed all faceplates of electrical outlets, and... 4. marked them by corresponding numbers on the switches and outlets, so that reinstalling would be a breeze.

Here are some photos of the completed project. 

You can see how the Inukshuk color turns to a creamy taupe in sunlight...

DIY Wainscoting & Chair Rail Installation | Painted in Benjamin Moore Inukshuk | Classy Glam Living

... and in the photo below in darker light, the color turns to a darker taupe.  It gives the panel frames more definition.

DIY Wainscoting & Chair Rail Installation | Painted in Benjamin Moore Inukshuk | Classy Glam Living

I was so delighted that the Mr. completed our Restoration Hardware inspired dining room.  It's personal touches like these that transform a plain builder's room to one that reflects the homeowners' style.  

DIY Wainscoting & Chair Rail Installation | Painted in Benjamin Moore Inukshuk | Classy Glam Living

Now our dining table no longer feels lonely in a room of blank canvas.  The wall detailing enhances the look and feel of our dining room furniture.  

DIY Wainscoting & Chair Rail Installation | Painted in Benjamin Moore Inukshuk | Classy Glam Living

Have you recently been inspired by your furniture to make enhancements to your rooms?

Contemplating Furniture Layouts for Our Family Room

Family Room Furniture Placement | Classy Glam Living

With our family room mood board in hand, the Mr. and I have been contemplating several furniture placement ideas.  Our family room is at a direct sightline from the entrance foyer, with the fireplace as a forced focal point.  (You can check out what I mean by this direct sightline from our Entryway gallery.)  Nowadays, a fireplace not only has to be functional (think back to this past LONG winter...  were you lucky enough to have a working fireplace when we had a power outage?), but also be esthetically pleasing as an architectural feature in the room.  Being the focal point of the family room, interior decorators would furnish the room around the fireplace to create conversation areas.

As our group's kids slowly grow up to be more independent, our gatherings with friends have finally gone back to be more conversational from kids-focused playdates.  We noticed that we now tend to gather around to chat (and munch), rather than being scattered and running after the kids at each other's houses. 

The Mr. and I would love to have a seating arrangement conducive to conversation for our family room, and these inspiration photos from my Family Room Pinterest board are truly gorgeous. (Click to view source)

These photos have a similar fireplace and room layout as ours, where the fireplace is in the middle of the room.  Our fireplace have tall windows flanking either side of it, and we love the natural light that they bring into the open ground floor.

But do you notice one thing that's missing in these photos that most families can't live without?

Yes, the TV.

Where's the TV in these rooms?  Perhaps these are not TV rooms.  How should we work with the fireplace and be able to watch TV?  Of course, we can hang the TV above the fireplace.  So I showed the Mr. the photos below (click to view source), where the couch faces the fireplace.  For us, this would be the couch facing the TV also.  We could place a console table behind the sofa so that it's less bare.  I definitely don't want the TV above the fireplace to be a focal point, since it is clearly visible once you enter the house.  A nice console table vignette would take the presence away from the fireplace (and TV) and act as the focal point.  

Giuliana & Bill Rancic's house

Giuliana & Bill Rancic's house

The decorated console behind the sofa may seem to be a good idea to distract attention from a hung TV.  However, we don't want to stop the sightline at the console table, and seemingly block off the open concept of the ground floor, appearing to be smaller.  We would much rather have a continuous sightline all the way back to the fireplace, and have a furniture grouping around it to make the space flow better and feel more welcoming.  

Not to mention, I'm just not a fan of having a TV above the fireplace.  I can imagine how stiff my already-bad neck would get from looking up at the TV.  I definitely won't be able to sit through a movie night!  The biggest problem to the Mr. with having a TV above the fireplace?  Why would he want to limit the size of the TV by the width of the fireplace?  With his every-growing size preference of a TV, this is just not workable.  

Just for the heck of it, we arranged our furniture with seating opposite to each other to mimic the photos with the fireplace as focal point.  

Furniture Placement Around Fireplace | Classy Glam Living

All we added in the room were the two armchairs.  We also moved the sofa away from the wall for a closer grouping.  The TV was still there, behind the armchairs.  I just cropped it away for visual effect.  There's enough room behind the sofa and armchairs for a small console table or writing desk, above which we can hang a piece of artwork.  The symmetrical setup of the family room is calming, yet sophisticated.  This is how we have always envisioned this room will be...  once we finish the basement and have a TV room down there.  

Following this furniture placement plan, we'll slowly incorporate the pieces from my mood board into our family room.  

What's the focal point in your family room?  How do you work with the furniture placement around your fireplace?