Our Basement Family Room's DIY Bookshelf Cabinet

DIY BOOKSHELF BUILT-IN CABINET  | CLASSY GLAM LIVING

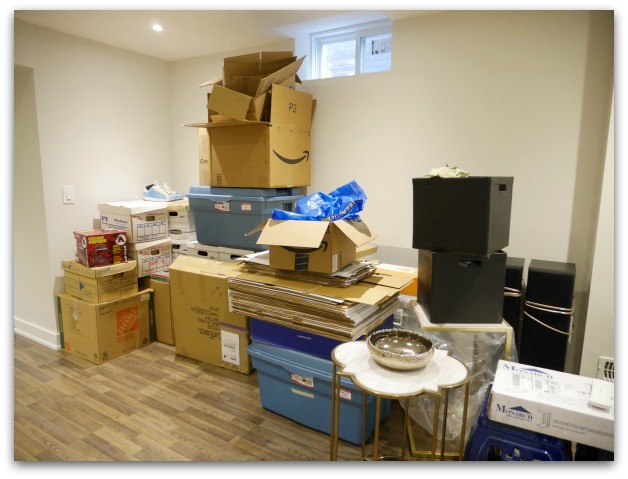
Like any one who has just moved into their new home (for us, that was 3 years ago 😆), there would inevitably still be unopened boxes in storage.  With my staging business in full swing, I currently use some of our basement storage for my staging supplies, and the need for additional storage space has become even more pressing.  To make space for my staging supplies, the Mr. moved our unpacked boxes out to the basement's finished area...  and the basement became an eye sore:

storage problem.jpg

Having these boxes out in the open triggered the Mr.'s OCD, pushing him to move forward with our planned DIY storage cabinet...  which otherwise might have been put on the back burner.

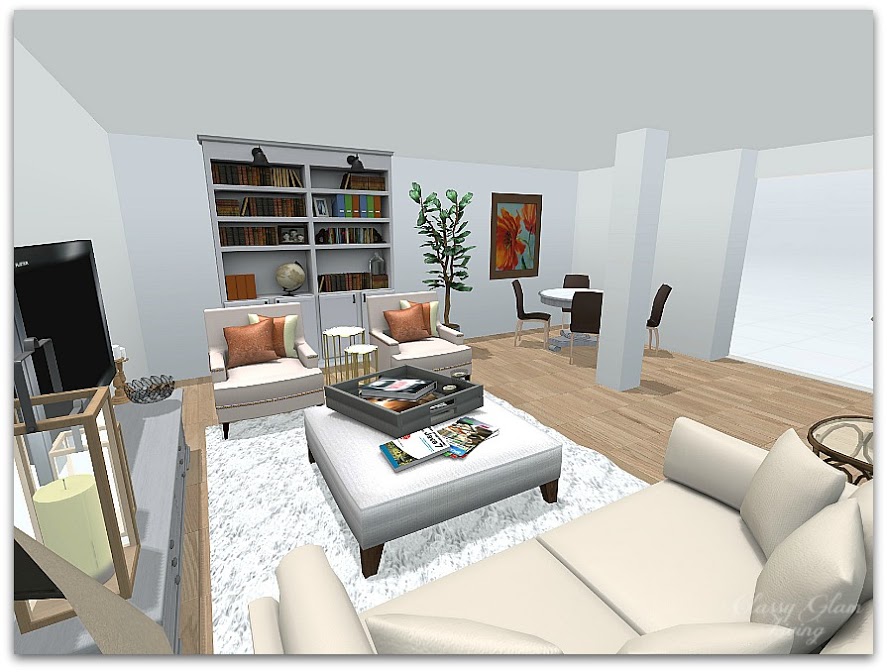
This rendition below was the planned furniture layout for our basement family room.  The bookcase is the DIY storage cabinet, which is to be located beside the all-purpose table area.  (You can read more about our basement layout here). 

family room view to eating.jpg

In my post about the basement layout plan, I asked readers if you would want to see a built-from-scratch cabinet or an IKEA hack with the Besta.  The results were overwhelmingly for a build from scratch cabinet.  Well, with the venting holes on the wall of either side of the bookcase, it would be more work for the Mr. to hack the Besta than to build from scratch.  That was an easy decision for him.

We loved the design of our previous home office's DIY cabinet, and re-used that with some tweaks.   The new unit is not as wide as the previous unit, so instead of 3 columns, it would be made of 2 wider columns.

DIY BOOKSHELF BUILT-IN CABINET  | CLASSY GLAM LIVING

The Mr. worked too fast sometimes that I couldn't capture his progress in photos.  I put together a video with whatever photos I have of his DIY progress.  It always blows my mind how much planning he puts into each build, and of course, all his hard work in actually building the unit.  

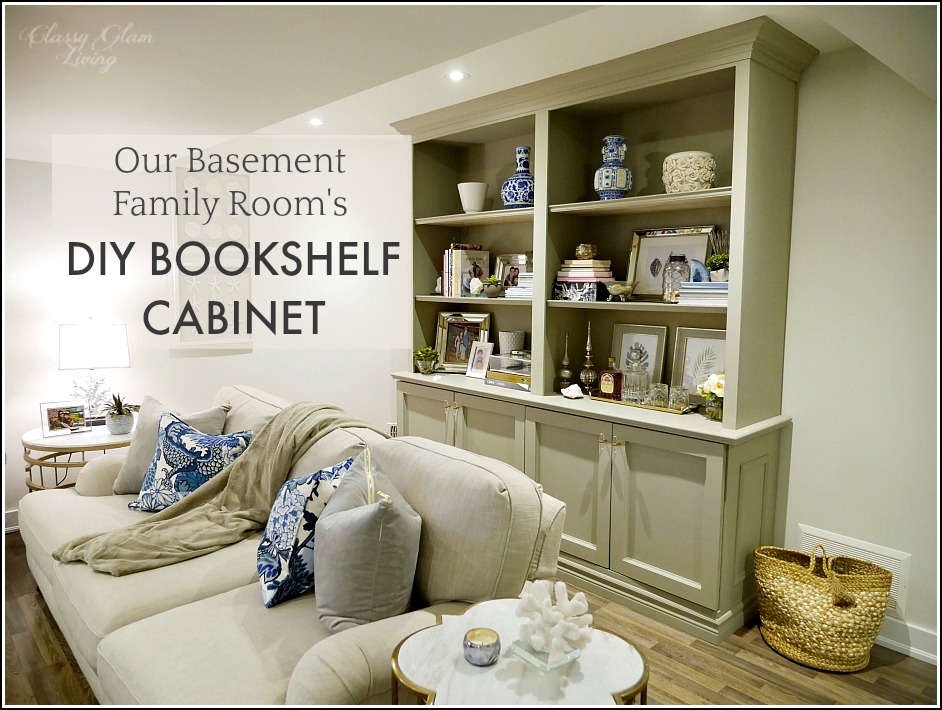
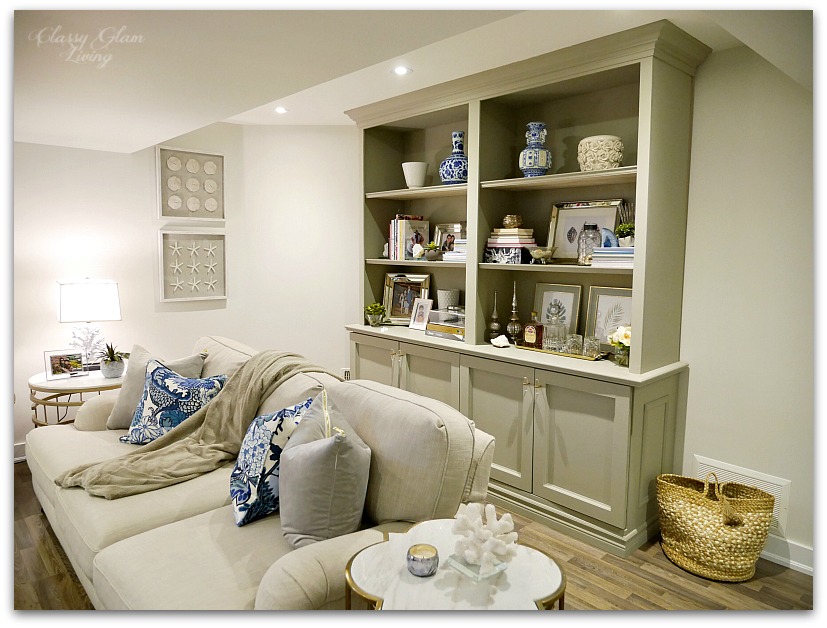
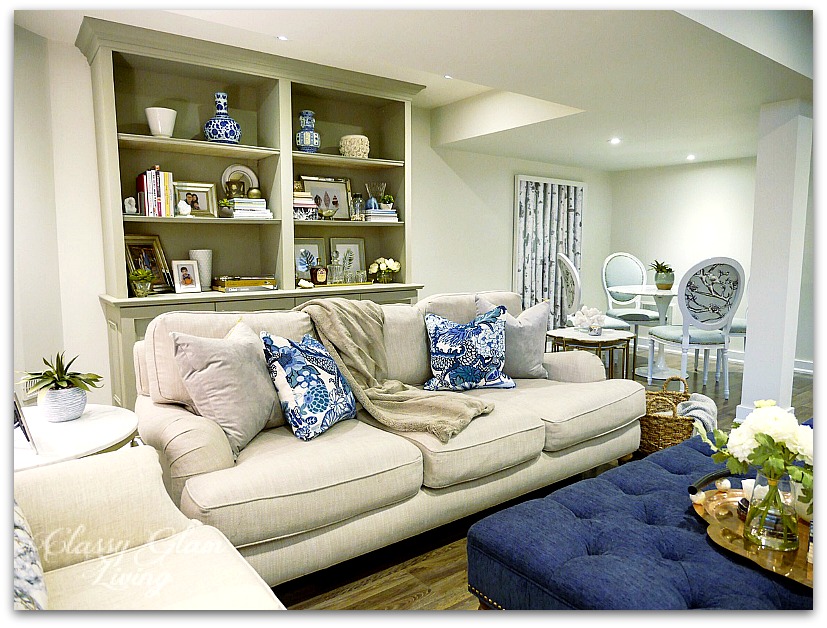
I love how this storage unit turned out!  Not only is it a much needed storage cabinet, but it also allows us to display our family momentos.  Well, and the Mr. is just relieved that it's done so we could unpack those boxes!  After another round of purging, those boxed items are now residing in the bottom compartments.   

DIY BOOKSHELF BUILT-IN CABINET FRONT VIEW | CLASSY GLAM LIVING
DIY BOOKSHELF BUILT-IN CABINET SIDE VIEW | CLASSY GLAM LIVING

Now that those boxes are gone, our basement family room is finally a space that we can truly enjoy.  Even with nothing to watch on TV most nights, the Mr. and I still prefer to hang out on the couch down here.  

DIY BOOKSHELF BUILT-IN CABINET ROOM VIEW | CLASSY GLAM LIVING

We would like to send a big thanks to Homesense, who have been so generous in sponsoring some accessories for styling this bookcase (and the rest of our family room)!  

DIY BOOKSHELF BUILT-IN CABINET ROOM VIEW 2  | CLASSY GLAM LIVING

Check back soon, as I'll share tips on how I styled our bookcase!  

We Need a Drop Zone!!! + Design Inspirations

This past weekend's gorgeous Spring-like weather has put me into cleaning mode.  But just like how this Spring tease won't stick around for long, neither would this "cleanliness" at our home.  The one main culprit is CLUTTER.  

Mail, papers, homeless decor items...

Mail, papers, homeless decor items...

One thing I'm not diligent with is dealing with all the papers that come through our door.  No matter how much I try to cut down on our paper trail, some are still inevitable.  At times (actually, most of the time), our dining table is a dumping ground for piles of papers and homeless decor items.  On the rare occasion that it's cleared off, I snap a photo for Instagram:

Dining Room | Classy Glam Living

It all comes down to the fact that I'm just not a good cleaner-upper.  Our main floor has no closed storage at all, except for our kitchen and cloak closet.  As much as I want to hide my keys and mail in a kitchen cupboard, it just doesn't make sense (and I better not start with that habit!).  I desperately need a place to temporarily put away these things!

What I need is a drop zone/ storage/ command centre by the entrance.  A designated spot where I can drop off my keys/ sunglasses as I walk through the door and hide the mail that I'll eventually attend to.  A place where I can store papers temporarily until I file/ shred them, and where I can have a simple filing system for our family.

At the home office of our old house, the lower right cabinet of this DIY built-in unit was my drop zone.  It wasn't ideal, since the office was on the second floor, and I just didn't drop off the stuff in there often enough...  ie. the stuff would linger on our kitchen counter back then.

Home office | Classy Glam Living

At our current house, there's a perfect spot for a multi-purpose drop zone right by our garage entrance.  It's an empty corner beside our seating area; a space that's only 32" wide, where we put out our Christmas tree.

Our designated drop zone

Our designated drop zone

When it's not Christmas time, it's literally a drop zone...

It's a drop zone in reality, and I hate it.

It's a drop zone in reality, and I hate it.

So, as usual, I flipped through Pinterest for design inspirations to make this little space of our main floor more functional and presentable.  What I get are very out-in-the-open, in-your-face kind of drop zones/ command centres.  I see designs of...

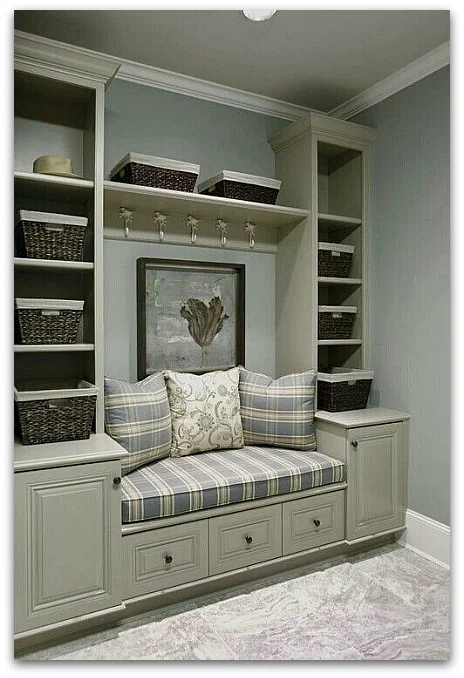
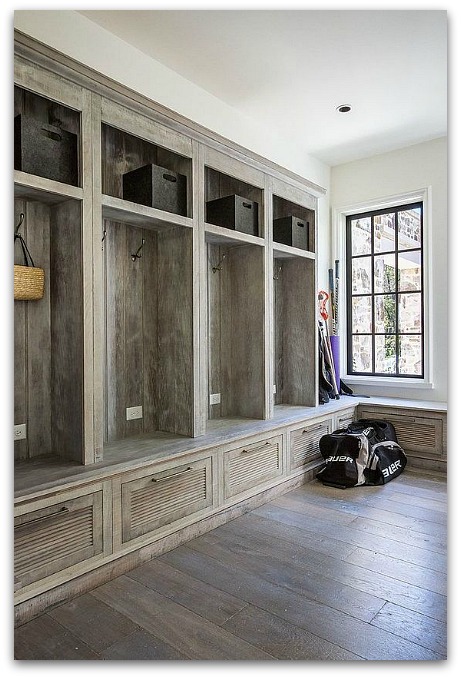
1. mudrooms...  It's beautiful, but we don't need a closet that's out in the open.  

2. gorgeous built-in command centres/ work stations in the kitchen.  Unfortunately, our kitchen isn't designed with this purpose.

Drop zone inspirations | kitchen work station | Classy Glam Living

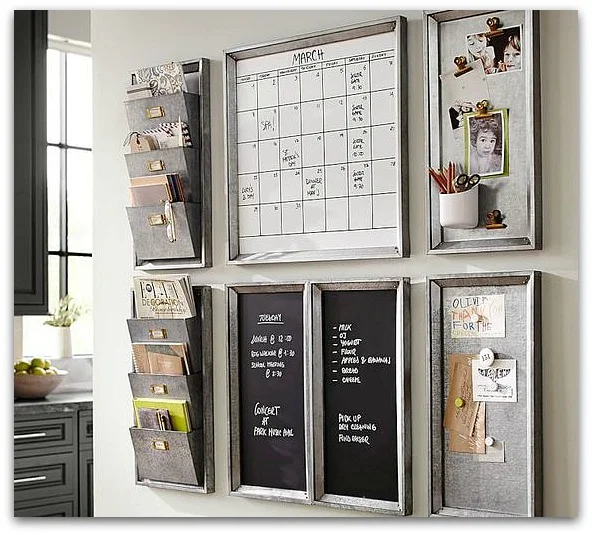
3. gallery walls of command centre.  These products are beautifully designed, but it looks too busy for my liking.

Pottery Barn

Pottery Barn

Pottern Barn

Pottern Barn

My preference is to have our drop zone blend in with our seating area, such that it appears to be more of a decorative element than an actual "drop zone".  Most recently, Jen at Rambling Reno also added a drop zone of a similar idea at her new house.  I wish we had addressed our need of a drop zone early on like she did when we first moved in.  

These beautiful inspirations show how drop zones can be functional and beautiful:

Simple, right?  It's basically just a dresser, or so I thought.  I wanted to limit the depth of the unit to a max of 15", so that it's not in the way of the window by too much.  That proved to be a problem in finding a piece at the right size.  

Anything that's at around 15" in depth is the height of a side table, which is around 28"-30".  That would look too short for our 9' ceiling.  I need a piece that's at counter height of 36", but it automatically becomes the depth of a dresser at 18-20".  That's too far out for the little nook.  

Could it be that a piece that fits our dimensions and budget does not exist?  The simplest things are always the hardest to find!

Seems like I've no choice but to add this drop zone unit to the Mr.'s to-build list.  Check back soon, as I'll talk about the design of this DIY unit next!

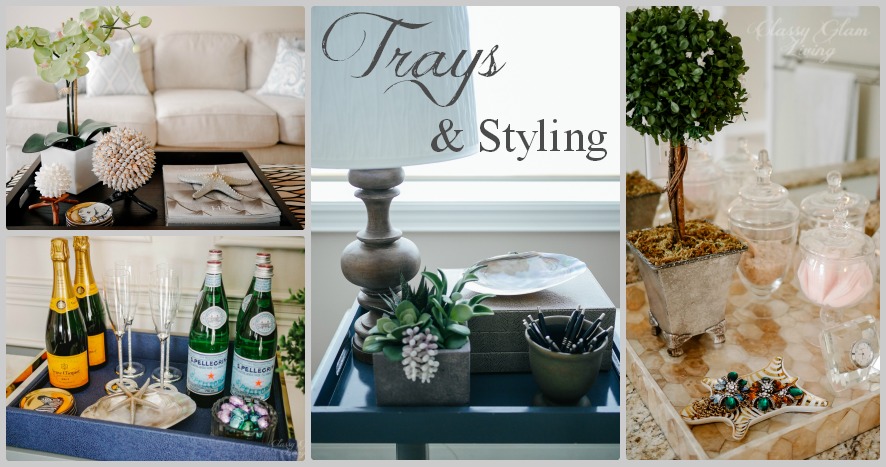
My Current Obsession: Trays and Styling

Tray Styling | Classy Glam Living

Back when little man was still a baby, the forward-thinking mom in me took a look at our wooden coffee table with sharp corners and declared to the Mr. that we should replace it with something soft.  Seeing how babies who are learning to walk love to pull themselves up against furniture to walk around them, you can never be too cautious (especially with us being first time parents)!  For practical reasons, we decided to get an upholstered ottoman with ample storage inside for little man's toys (and our issues of unread magazines).  

Problem was, we needed a hard surface on which to place our TV snacks/ drinks.  That was what prompted us to make our first tray purchase, and the start of an obsession...

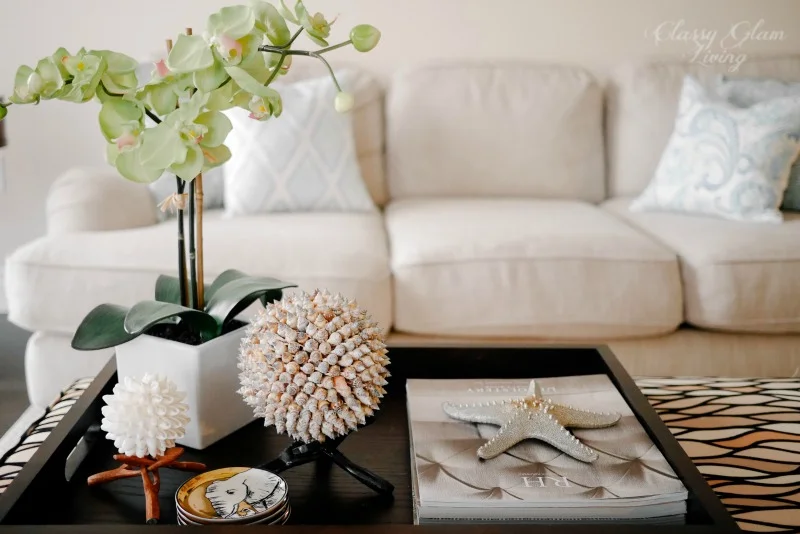
This was the large tray we got from Pottery Barn for our coffee table / ottoman in the family room.  We love keeping copies of the Restoration Hardware catalogue on the tray (we're always in awe and inspired by how they style the rooms).  Just in time to switch to the most recent copies we got in the mail!  

Coffee Table Tray Styling | Classy Glam Living

Ever since getting that first tray, we loved using trays to keep a large surface clutter free.  The tray is like a clutter boundary - keep your clutter in it, and makes the rest of the surface much neater...  or at least I try to keep it that way!

The tray in our office keeps our stationeries easily accessible, while keeping our workspace bright with that wooden lamp.  

Office Desk Tray Styling | Classy Glam Living

Creating a tray vignette is a great way to add a little personality to a room.  Here in our home office, it makes working less dull with something pretty on the desk.

Office Desk Tray Styling | Classy Glam Living

In addition to personalizing a space, trays also make cleaning much easier.  We have a long counter in our bathroom, and I found cleaning the counter much easier than my pre-tray days.  I just need to haul away the whole tray and give the counter an easy wipe-down.   No more moving individual canisters while I clean up.  

Bathroom Vanity Tray Styling | Classy Glam Living

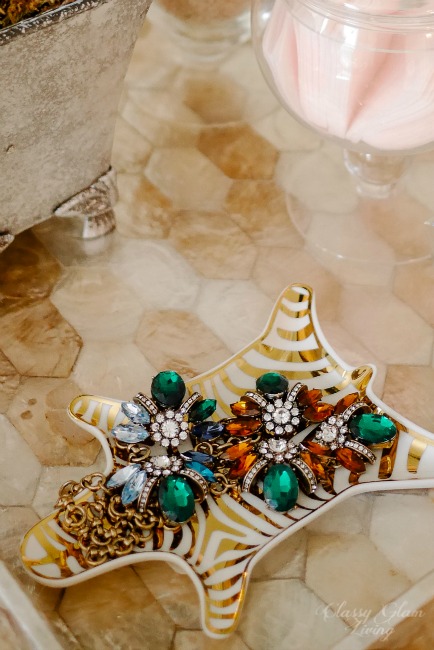
A sparkly mirror tray in the dressing room helps gather up bottles... 

Dressing Table Vanity Tray Styling | Classy Glam Living

... and free up some space for another mirror tray for some knick knacks - my ring holder, clock and oil diffuser.

Dressing Table Vanity Tray Styling | Classy Glam Living

Our tray obsession continued on our last trip and we brought home this faux shagreen tray from Z Gallerie.  We loved its color, and the stylish gold handles make it a perfect piece for entertaining.  It now sits nice and proud on our dining room console table.

Bar Tray Styling | Classy Glam Living

I'm not sure why we've only been getting four-sided trays.  But we're now eyeing these beauties!

Tray Styling | Classy Glam Living

Sources:  1 / 2 / 3 / 4

Maybe one day, I'll ask the Mr. to attempt this DIY project also!  I love me a marble tray!

via Almost Makes Perfect

via Almost Makes Perfect

Now go on to get organized and beautify your space with trays!