DIY Playroom Workbench/ Storage Unit
/
The new season brought to our house a series of organizational projects. While the Mr. is busy finishing up our entryway drop zone storage unit, I should document another much-needed piece that he had completed. That is, the sanity-saving storage unit for little man's playroom.
As mentioned here, we've dedicated the small bedroom beside little man's room as the playroom, which is a great idea so we can keep his toys contained in just one space.
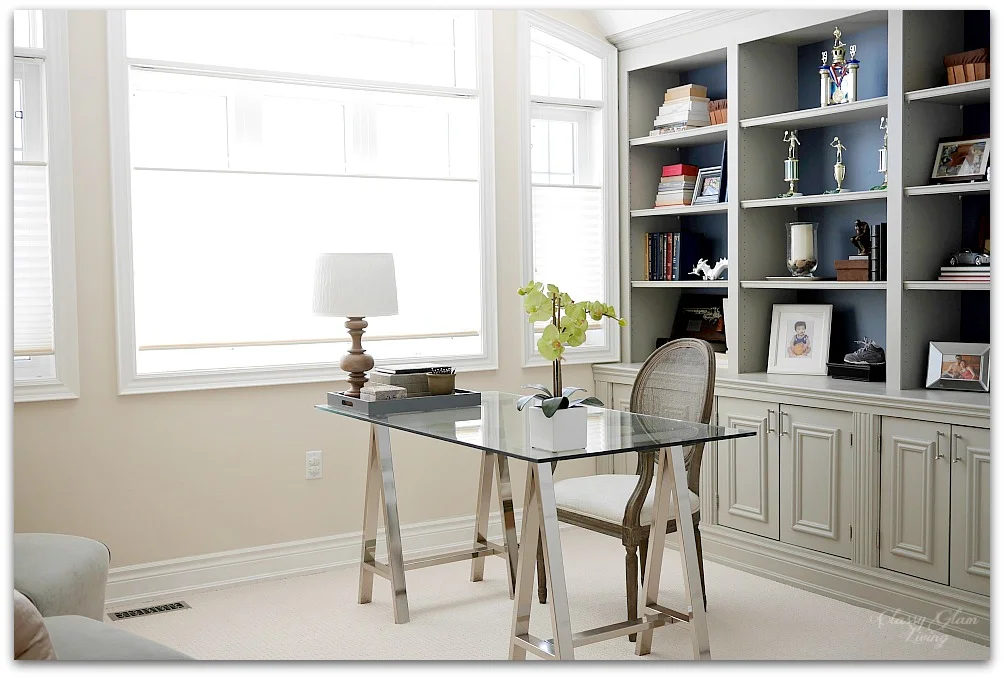
The playroom is relatively small, and with an existing desk, there is not enough space for storage and small play table. We needed a 2-in-1 piece here! The toy storage unit was designed to provide a workbench (for Lego'ing) and storage pull-out bins underneath. It's a similar idea to IKEA's pull out storage...

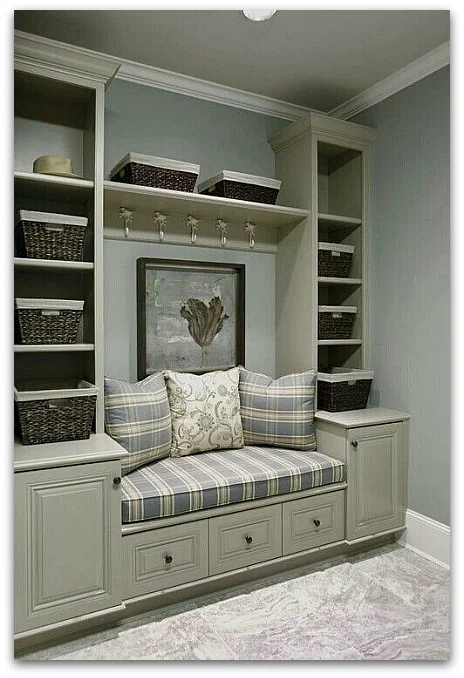
IKEA STUVA toy storage bench
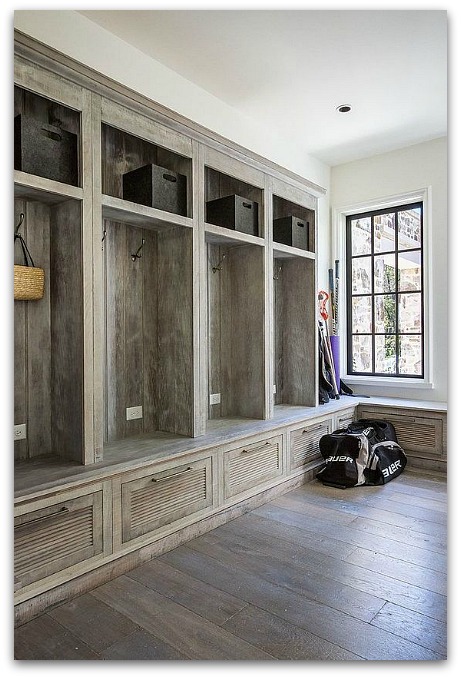
... and in combination with Restoration Hardware's rustic/ industrial toy storage activity table:

Restoration Hardware
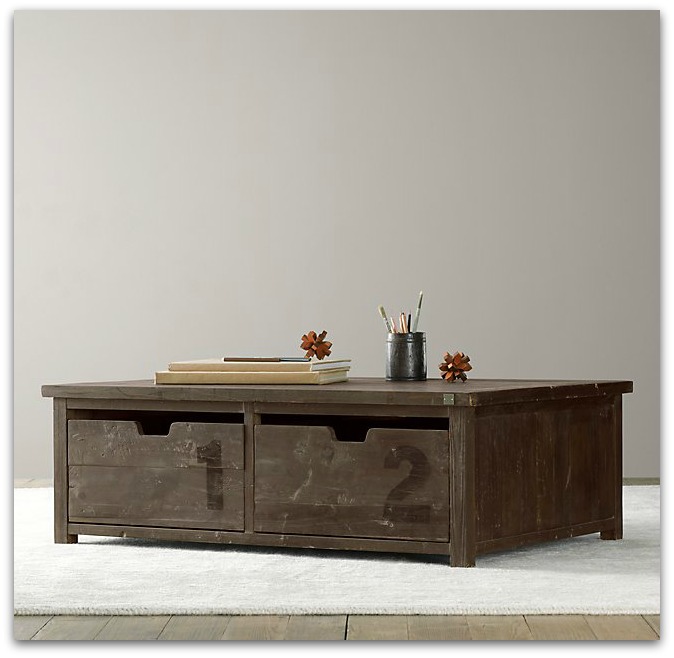
Restoration Hardware
It's a simple industrial-inspired utilitarian piece that serves its purpose. Nothing fancy.
The Mr. had previously completed the work bench portion of this unit, as posted here:

The storage bins were finished a while ago, and I'm so glad to finally be able to clean up the playroom (somewhat) to show you!

The pull-out bins are just wooden boxes on castors. Again, totally utilitarian, and something "easy" for the Mr. to put together. The bins fit board games in #1, more Lego boxes in #2 and even Nerf guns in bin #3.
The entire unit was stained in Minwax Classic Grey, which is my favourite stain that gives a somewhat Restoration Hardware look.
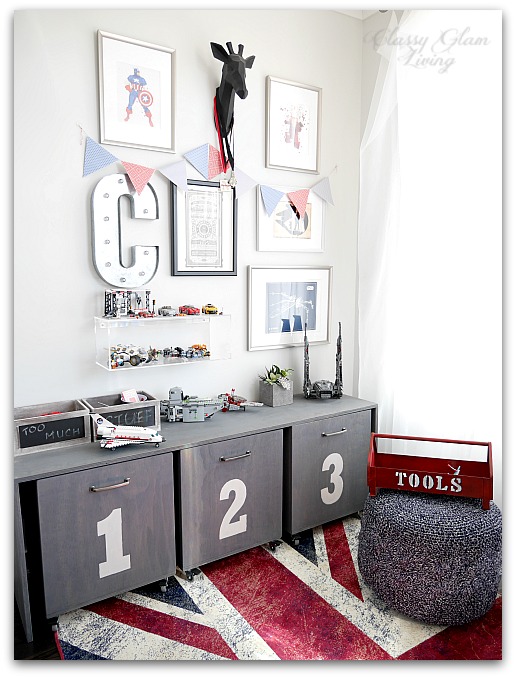
After the Mr. stained the bins, I stencilled the numbers (downloaded this font) on them using chalk paint.


I didn't want to spend too much on the bin pulls, and these are just right for my budget. I like the thickness of this pull for little man's small hands, and this antique nickel finish is the perfect pewter for the piece.


Here's little man assembling another Lego set, making full use of the work bench.

It's more practical to use bins on castors than drawers, so he can wheel them all the way out to maximize his workspace and leg room.
Well, I thought the playroom is done with the completion of this unit. As little man grows up, his toys collection grows with him; specifically, his Lego collection. It's just a waste to disassemble the kits and mix the pieces with everything else... you know how pricey Lego kits are! Just see how crammed all his Legos are on his bench in the photo above... and those are not even all of them!
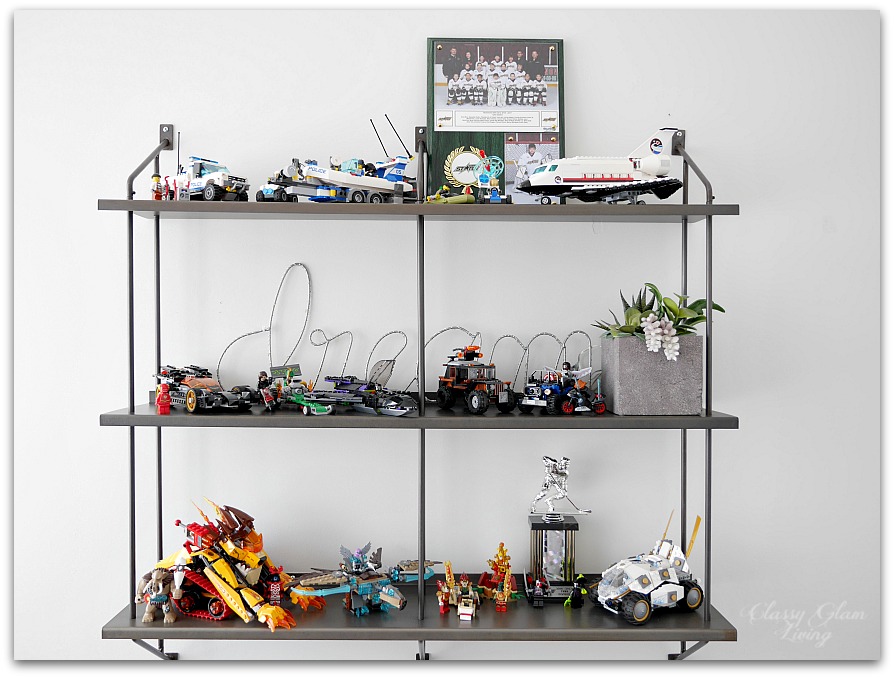
Instead of cramming his entire Lego collection on the work bench, we decided to install a display shelf on the opposite wall.
I love the industrial vibe of this shelf and it goes well with the overall look of the playroom.
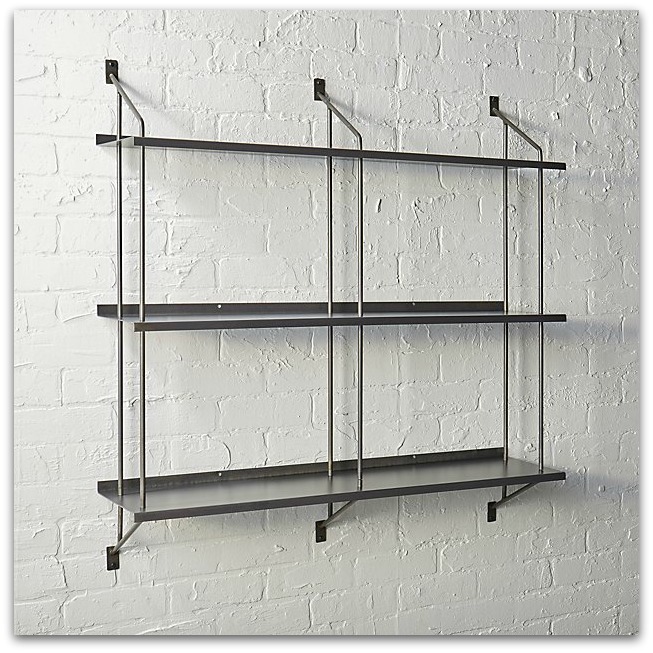
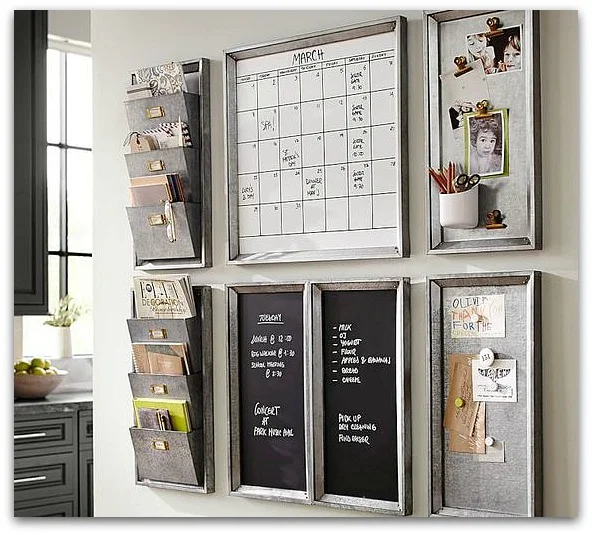
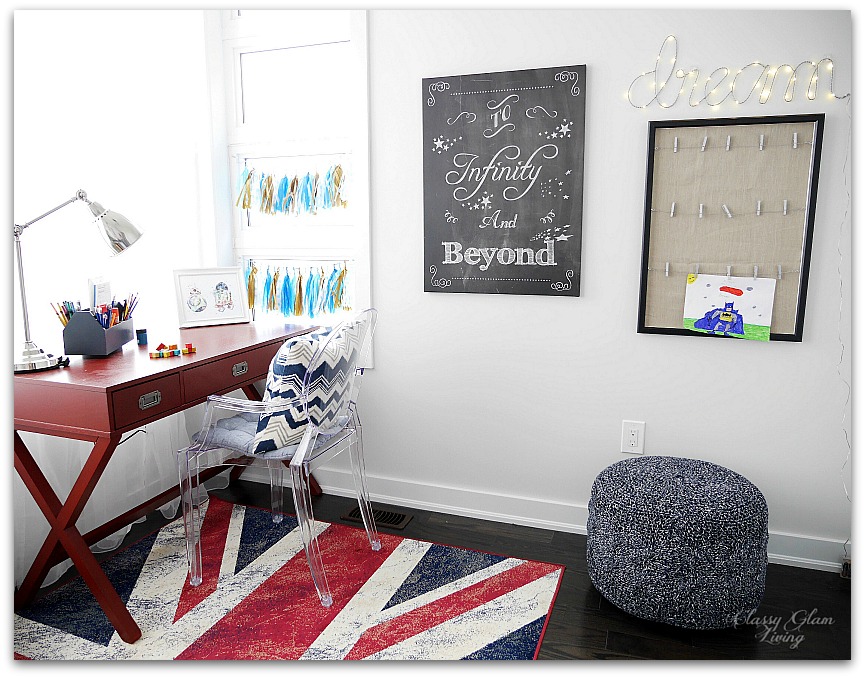
It's a good size for the wall that used to house a canvas art and art display frame:
For now, this wall shelf would be used to display his Lego collections and whatever he wants to showcase. When he eventually grows out of his toys, the shelf can perhaps be used for books... or other collections of "cool stuff".

And with this display shelf in place, we can finally call this playroom COMPLETE. Many thanks again to the Mr. for building the storage unit, which is just the perfect size for this tiny room!
To see more of little man's space, here's the post of his big boy bedroom. It was also featured on Shutterfly as one of 75 Cheerful Boys' Bedroom Ideas.
Shop the post here: