DIY Playroom Workbench/ Storage Unit

DIY Playroom Workbench + Storage Unit  1 | Classy Glam Living

The new season brought to our house a series of organizational projects.  While the Mr. is busy finishing up our entryway drop zone storage unit, I should document another much-needed piece that he had completed.  That is, the sanity-saving storage unit for little man's playroom.

As mentioned here, we've dedicated the small bedroom beside little man's room as the playroom, which is a great idea so we can keep his toys contained in just one space.

The playroom is relatively small, and with an existing desk, there is not enough space for storage and small play table.  We needed a 2-in-1 piece here!  The toy storage unit was designed to provide a workbench (for Lego'ing) and storage pull-out bins underneath.  It's a similar idea to IKEA's pull out storage...

IKEA STUVA toy storage bench

IKEA STUVA toy storage bench

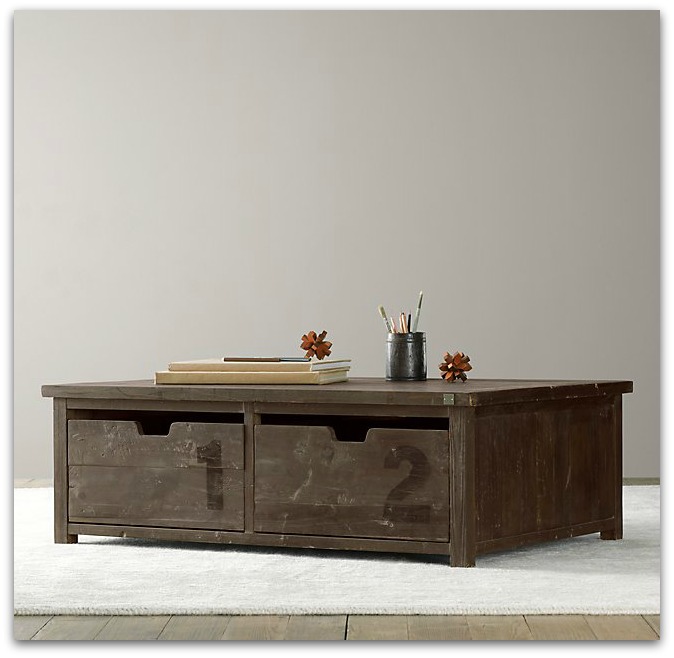
... and in combination with Restoration Hardware's rustic/ industrial toy storage activity table:

Restoration Hardware

Restoration Hardware

Restoration Hardware

Restoration Hardware

It's a simple industrial-inspired utilitarian piece that serves its purpose.  Nothing fancy.

The Mr. had previously completed the work bench portion of this unit, as posted here:

The storage bins were finished a while ago, and I'm so glad to finally be able to clean up the playroom (somewhat) to show you!

DIY Playroom Workbench + Storage Unit  3 | Classy Glam Living

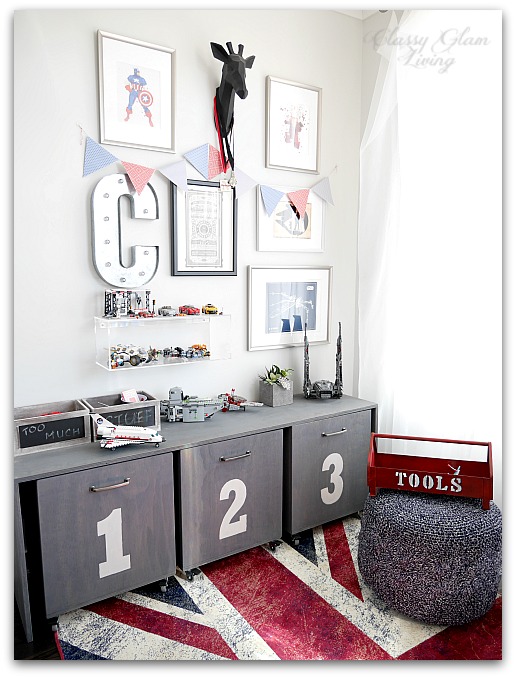
The pull-out bins are just wooden boxes on castors.  Again, totally utilitarian, and something "easy" for the Mr. to put together.  The bins fit board games in #1, more Lego boxes in #2 and even Nerf guns in bin #3.

The entire unit was stained in Minwax Classic Grey, which is my favourite stain that gives a somewhat Restoration Hardware look.

DIY Playroom Workbench + Storage Unit  4 | Classy Glam Living

After the Mr. stained the bins, I stencilled the numbers (downloaded this font) on them using chalk paint.

DIY Playroom Workbench + Storage Unit  5 | Classy Glam Living
DIY Playroom Workbench + Storage Unit  6 | Classy Glam Living

I didn't want to spend too much on the bin pulls, and these are just right for my budget.  I like the thickness of this pull for little man's small hands, and this antique nickel finish is the perfect pewter for the piece.

DIY Playroom Workbench + Storage Unit  7 | Classy Glam Living
DIY Playroom Workbench + Storage Unit  8 | Classy Glam Living

Here's little man assembling another Lego set, making full use of the work bench.

DIY Playroom Workbench + Storage Unit  9 | Classy Glam Living

It's more practical to use bins on castors than drawers, so he can wheel them all the way out to maximize his workspace and leg room.

Well, I thought the playroom is done with the completion of this unit.  As little man grows up, his toys collection grows with him; specifically, his Lego collection.  It's just a waste to disassemble the kits and mix the pieces with everything else...  you know how pricey Lego kits are!  Just see how crammed all his Legos are on his bench in the photo above...  and those are not even all of them!

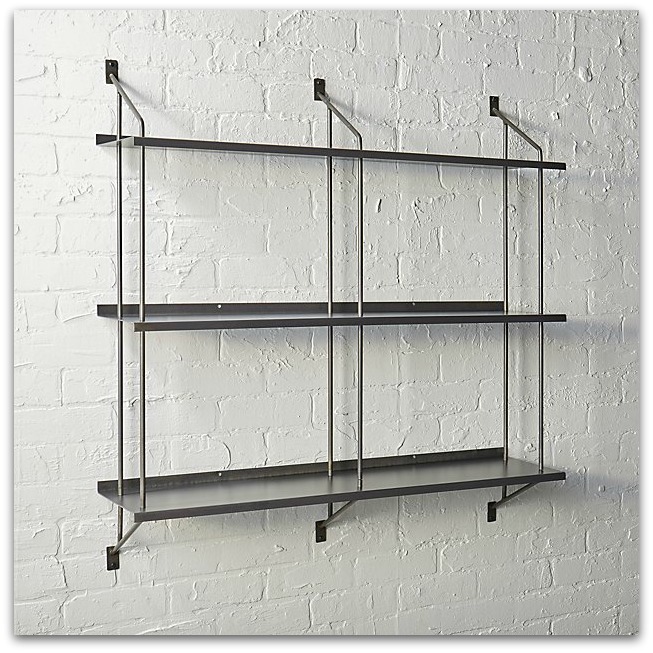
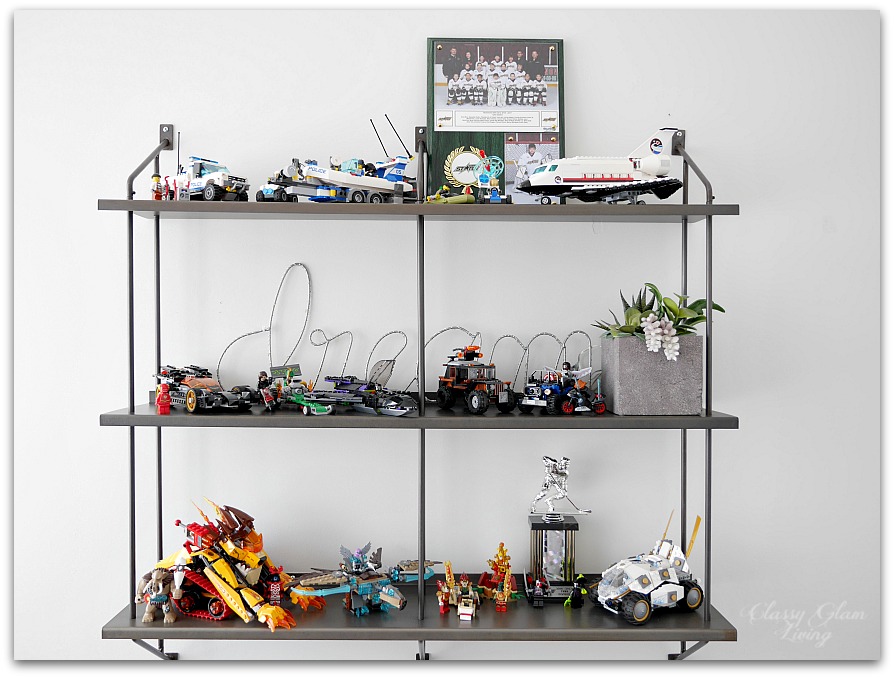
Instead of cramming his entire Lego collection on the work bench, we decided to install a display shelf on the opposite wall.  

I love the industrial vibe of this shelf and it goes well with the overall look of the playroom.

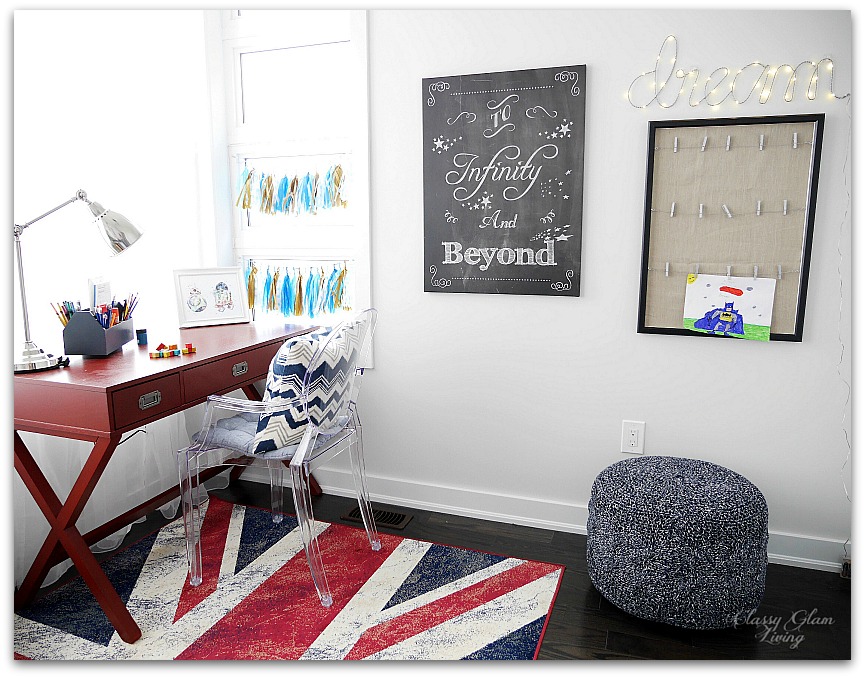
It's a good size for the wall that used to house a canvas art and art display frame:

Playroom Art display gallery wall | Classy Glam Living

For now, this wall shelf would be used to display his Lego collections and whatever he wants to showcase.  When he eventually grows out of his toys, the shelf can perhaps be used for books...  or other collections of "cool stuff".

Playroom CB2 Stretch Modular Wall Shelf | Classy Glam Living

And with this display shelf in place, we can finally call this playroom COMPLETE.  Many thanks again to the Mr. for building the storage unit, which is just the perfect size for this tiny room!

To see more of little man's space, here's the post of his big boy bedroom.  It was also featured on Shutterfly as one of 75 Cheerful Boys' Bedroom Ideas.  

Shop the post here:

5 Things to Consider for an "Effortless" Gallery Wall

5 THINGS TO CONSIDER FOR AN EFFORTLESS GALLERY WALL | CLASSY GLAM LIVING

Now that the Holidays are over, I'm still reluctant to pack away the sparkly decorations and Christmas lights that line our staircase.  Actually, call it a case of mild procrastination.  Afterall, it took quite some effort to lay out the decorations, they should stay out for a bit longer, don't you think?

I blame the delay of packing up our Christmas decorations on decorating the little man's headquarters - his bedroom and playroom.   Not that I'm doing any of the installations...  Anyway...  Little man's working corner in his playroom is finally in place, and I should really unpack some packages lying around that are for a gallery wall in the room.

A gallery wall is an eclectic display of art, giving the room a casual vibe.  For our house, there's no better place than the playroom to have some fun with it!  The. Mr is not a huge fan of gallery walls, but he has reluctantly played along with the idea for one in the playroom.  So to honour that, I promise to keep it small scaled with a somewhat neat demeanor.  My plan is to have it above a future toy storage unit, with a wall space of around 5-feet wide.

I want the gallery wall to look effortlessly casual, but it still takes some effort while taking these factors into consideration:

1. DETERMINE THE BOUNDARY

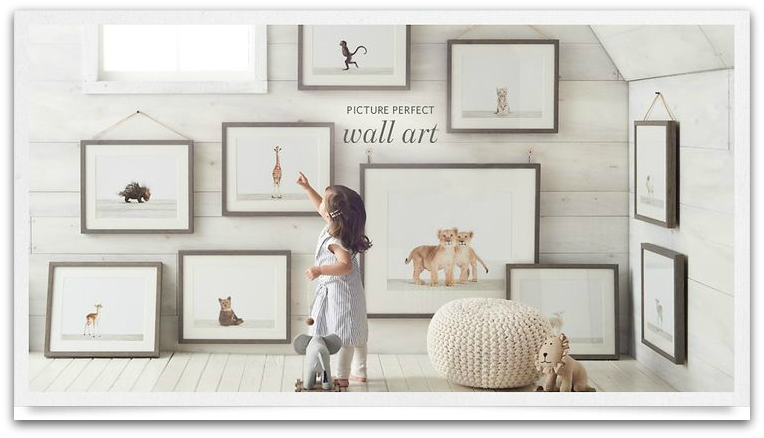
The width of most gallery walls are bounded by, or just beyond, the width of the furniture below it, if any.  For dramatic effect, you can even go wall to wall, similar to the sample image below.  As for a vertical boundary, a more comfortable grouping would see the bottom of the layout at 6"-8" above any piece of furniture, up to around 2-ft off the ceiling.  You know the general rule of hanging wall art at 60-62" from the ground?  In the case of a gallery wall, treat the whole layout as a group, so that the group's centre is at eye-level.  You don't want to be crunching your neck to look up to ALL your pieces!

2. SHAPE OF THE LAYOUT

Do you have a neat and structured personality, like my Mr.?  Then a square or rectangular shape gallery wall will most likely be your pick.  Or are you more coherently random, like me?

Structured shape via The Southern Thing

Structured shape via The Southern Thing

coherently random shape by Lay Baby Lay

coherently random shape by Lay Baby Lay

3. SHAPES, SIZES, AND COLOURS OF THE FRAMES

Using various shapes and sizes of frames for the gallery wall is one way to give it a dose of your personality.   For little man's playroom, I originally planned on using colourful frames.  I'm having second thoughts about that, and I think monochromatic frames would play a balancing role against the pops of colours around the room full of toys.  

4. SPACING AROUND THE PIECES 

A visually appealing gallery wall should have just enough pieces that are grouped comfortably together.  The key is to avoid looking too messy.  Spaced too tight, it would look like too many pieces are crying for attention, and the frames would look crammed; spaced too far apart, then they look like individual art pieces sharing the wall.  

To be easy on the eyes, I find that the optimal distance between each piece should be around 2-3".  There're no hard and fast rules about it, and it all depends on the different sizes and shapes of the pieces.

via RH Teen

via RH Teen

5. INCLUDE WHIMSICAL ACCENTS

Gallery walls are never boring - display some loved and dearest pieces to let your personality shine through!  A touch of whimsical accessories bring these gallery walls to life!

The next time you see a casually and effortlessly chic gallery wall, you can count on the fact that the more casual it looks, the more effort it required!  A lot of planning goes into perfecting even a seemingly random placement of pieces.  But don't be boggled down by the planning; afterall, the point of a gallery wall is to have fun with it!  Once you have collected your pieces, it's definitely a fun exercise to hone your sense of design and use of space.  Let loose and have some fun!

Playroom Painted in a Shade of Gray

Playroom Benjamin Moore Gray Owl 50% tinted | Classy Glam Living

On nights when The Mr. "indulges" himself with his pet DIY project, our walk-in closet/ dressing room, little man would busy himself with his own Lego design and build projects or other master art pieces.  These are quiet nights for me when they're on their own; no floor hockey/ goalie plays and no gunning battles in the basement family room.  But I can't help but notice little man lacks a space to play and make art.

Little man has never had his own work space.  The dining room table has been his creative space since he first picked up a crayon eons ago.  Now that we've moved into our new house though, we don't want his masterpieces to take over the dining table.  

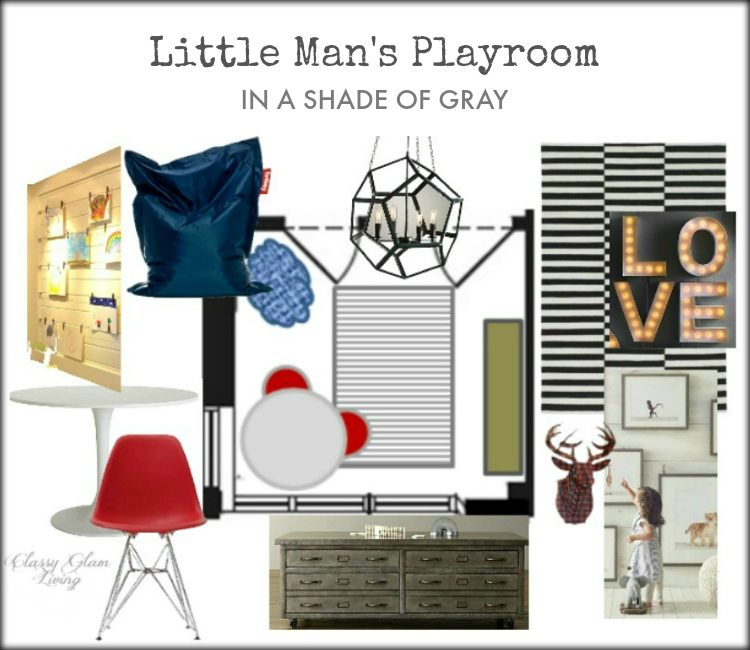
That's when I finally dug out my plan for his playroom, as posted here.

The playroom is a spare third bedroom upstairs, and not a big room at all.  To save some space, we got him a desk instead of that IKEA round table.

I still love the style of this Target Campaign desk from when I wrote about the perfect desk for him, and this one is bang for the buck since I got it on sale!  The drawers will be perfect for all the papers and other miscellaneous items.

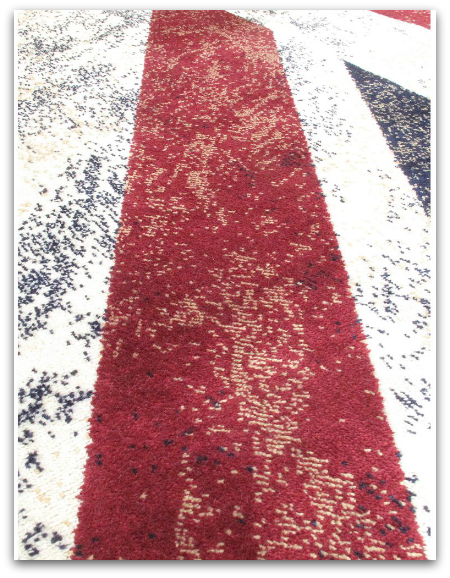
As another spin to my original design board, I found the cutest and fun rug for the playroom!  The Union Jack rug from Ecarpet Gallery totally fits my budget and the fun factor of the playroom.  

The colours are mixed and woven in a way to give the rug a vintage vibe.

rug close up.png

That's a lot of red in the room with the desk, but I don't mind it being more playful.  Who knows?  The red may help spark more creativity in the little man =)

In anticipation of taking delivery of the desk, we painted the playroom a light gray last weekend.  I loved the soft gray in this room by Amanda Moore of Hunter Baby.

I have been on the hunt for the perfect gray ever since seeing it used in this room.  Not going to inject another "50 shades of gray" joke here, but that number is an understatement!  If you've been sourcing grays, you would know all about the tinted grays!  I just wanted a gray that's, well, gray.  So I decided to try out the ever popular Benjamin Moore Gray Owl, and the just as amazing trick, at 50% tint.

Here is little man's playroom after painted in Gray Owl.  This shade of gray suits the playroom decor perfectly.  With just a tiny bit of tan, it picks up the vintagy vibe of the desk (to be delivered) and rug just right.  

Playroom Benjamin Moore Gray Owl at 50% tint Union Jack rug | Classy Glam Living

The playroom doesn't really need black-out curtains or too much privacy.  We chose to outfit the large window with simple sheers from IKEA on a track system by Allen + Roth.  

As you can see in the photo above, little man has gradually moved into his new playroom, no invitation required :-)  Funny how he lugged his beloved Lego in the playroom first, and I take it he's loving the space already!  I can't wait to put the playroom together for him!

Next up for the playroom: