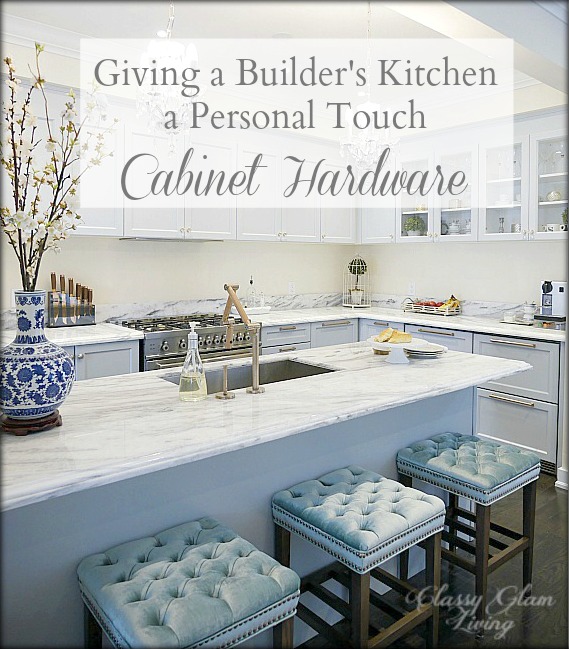
Mirrors - The Luxe Factor in a Kitchen
/
SEE OUR MOST RECENT KITCHEN UPDATE!
Mirrors, mirrors, and more mirrors! Seems like these recent blog updates are all about mirror installations. Can't help it, they're the easiest way to give the illusion of added square footage and improve brightness in a small space.
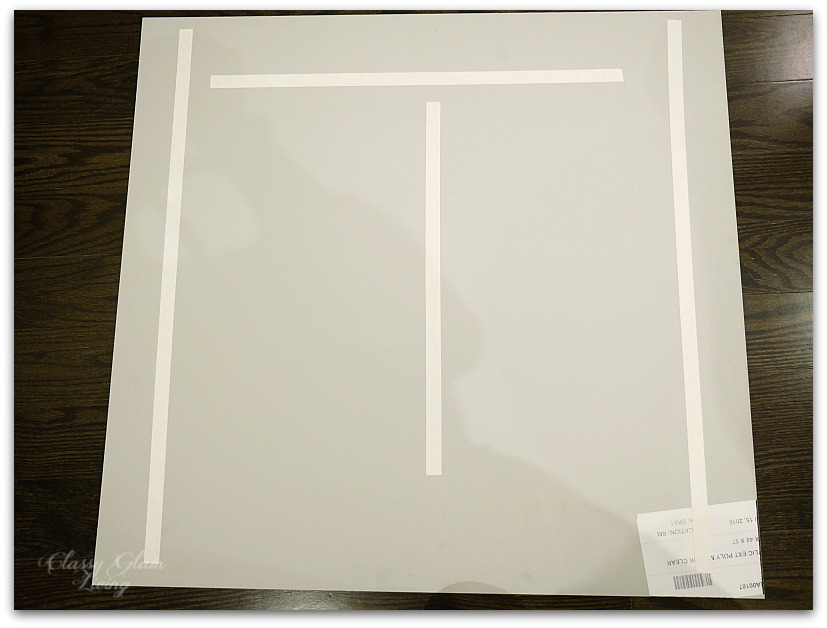
Installing the mirrors at the back of the kitchen glass cabinets was one of our to-do items on the list, found here. When we placed the order of acrylic mirrors for our DIY closet doors, we also included an order for the kitchen glass cabinets. We could've gone to our local home improvement store for a sheet of acrylic mirror and cut them to size ourselves, but we figured we would let the professionals at the plastic company handle the custom-sized cuts. The cost difference in terms of time and effort would work out to be the same.
The Mr. handled the easy installation process, which was the same as for the DIY closet doors. He test fitted the mirror against the cabinet's back before the installation. He used the thinnest double sided tape to avoid the wavy reflections. See? Doesn't get any easier than double sided tape!
Here's a glance at the quick process:

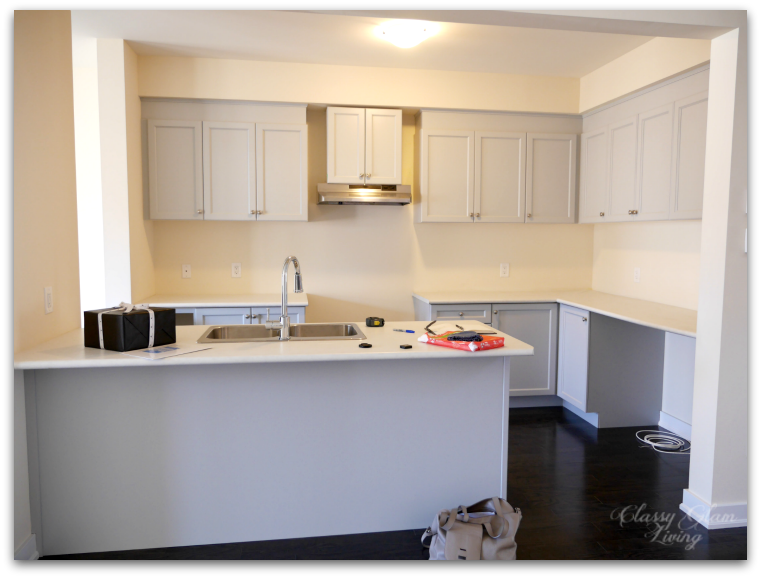
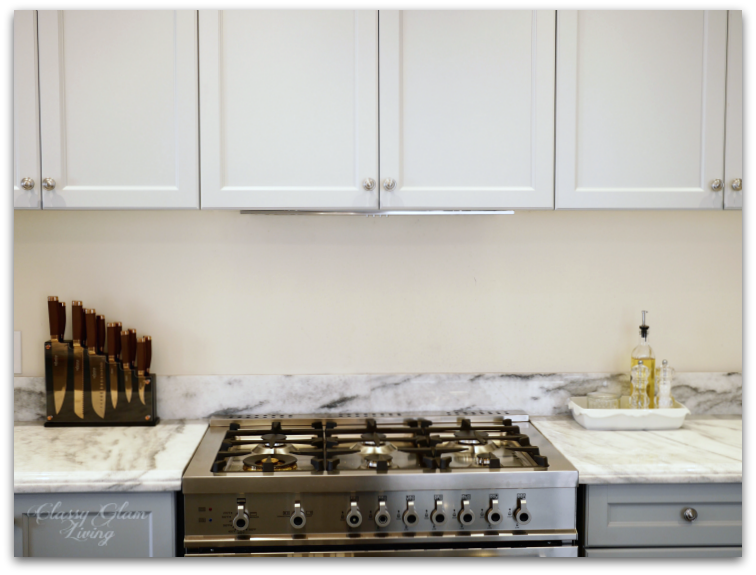
The "before" shot, taken after we changed out the builder's knobs and pulls.
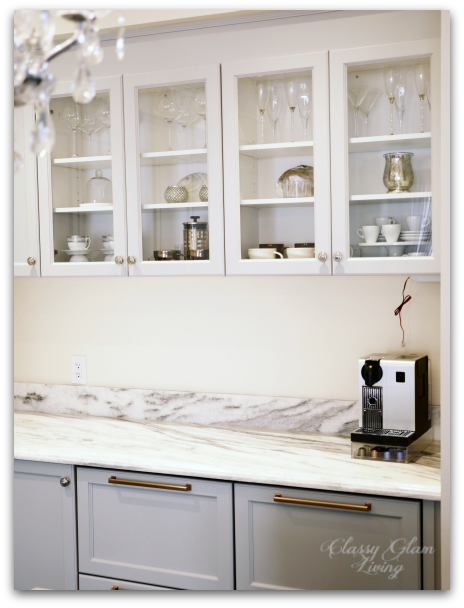
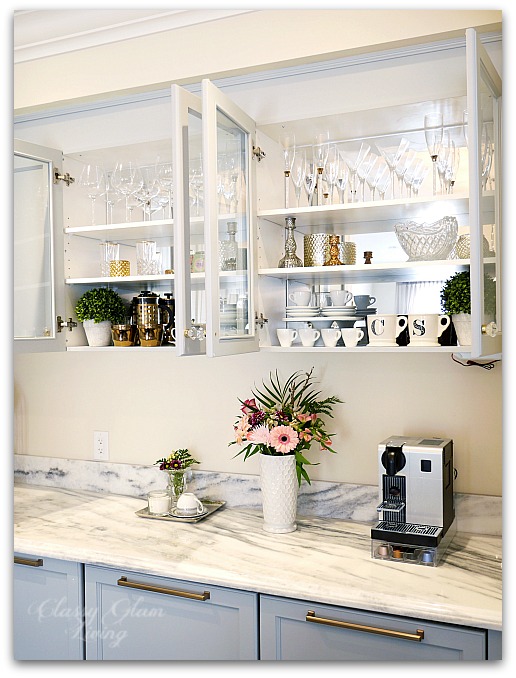
And this is the "after" of the mirror backs installation: (The above photo was taken on a gloomy day. This one below was taken on a sunny day... what a huge difference especially with the mirrors!)
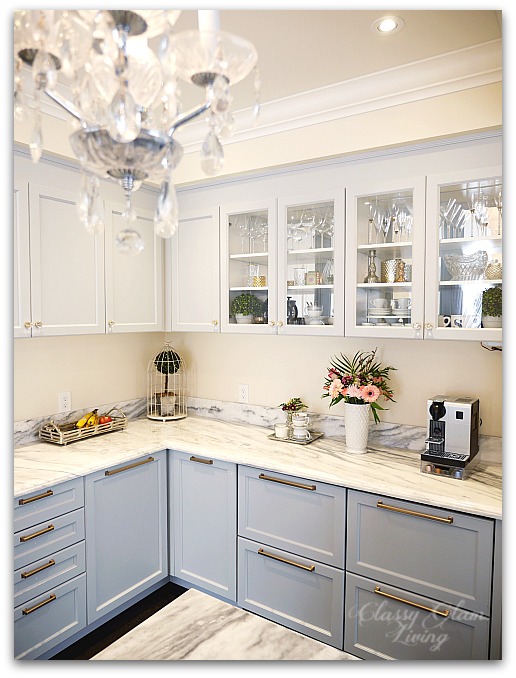
The mirrors add brightness to the otherwise dull cabinet backs. Not only did the mirrors multiply the brightness and give an illusion of depth, but they seem to have doubled our inventory of stemware as well!


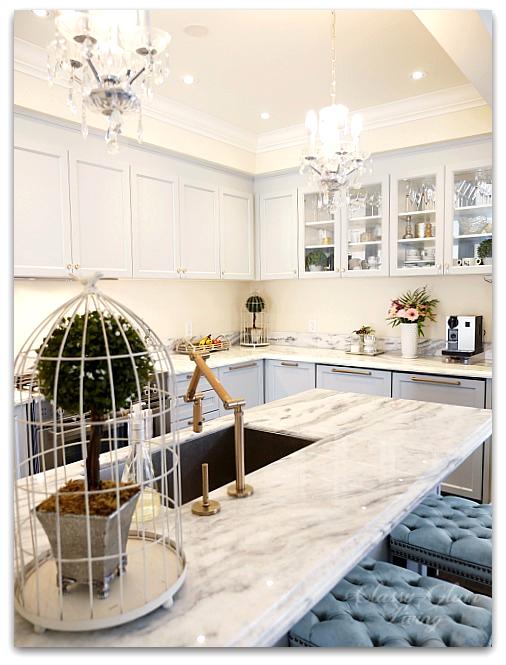
Here's the view of the kitchen from the dining room. The mirrors are reflecting the light from the patio doors and large windows from this space.

The brightest time of the day in the kitchen is a bit past noon. On a bright sunny day like when this set of photos was taken, I usually don't bother switching on the lights in the kitchen. With the lights on, the mirrors catch and reflect the light right back.

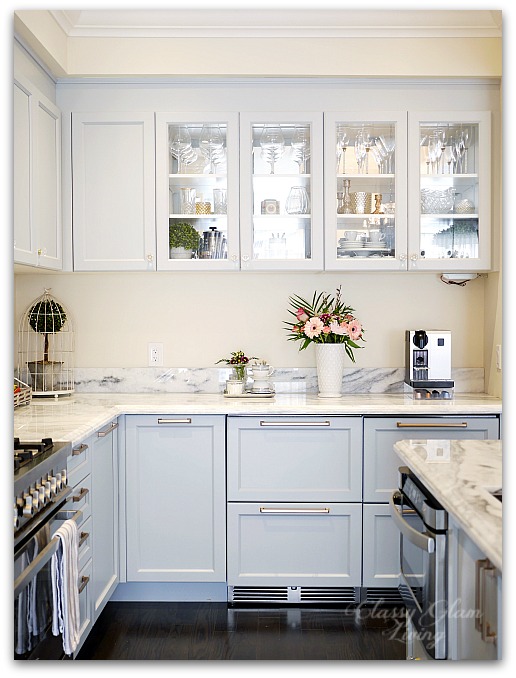
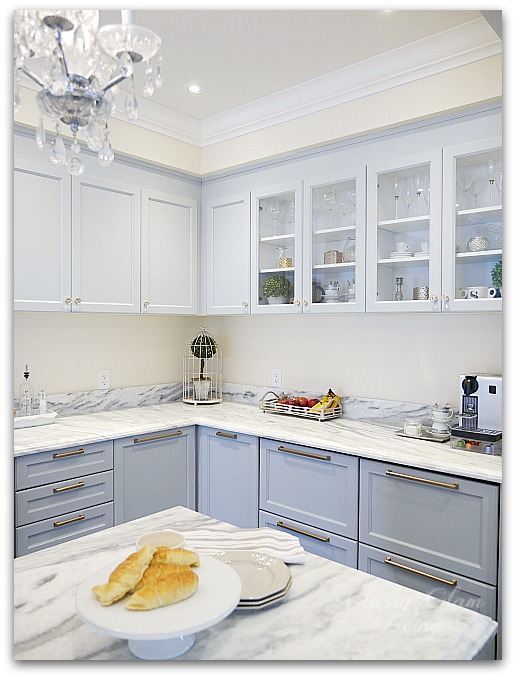
The simple addition of the mirrors livens up the little cabinet space, while making the kitchen more welcoming. Now that I'm spending more time at home, nothing makes me happier and more relaxed than a clean and bright kitchen.
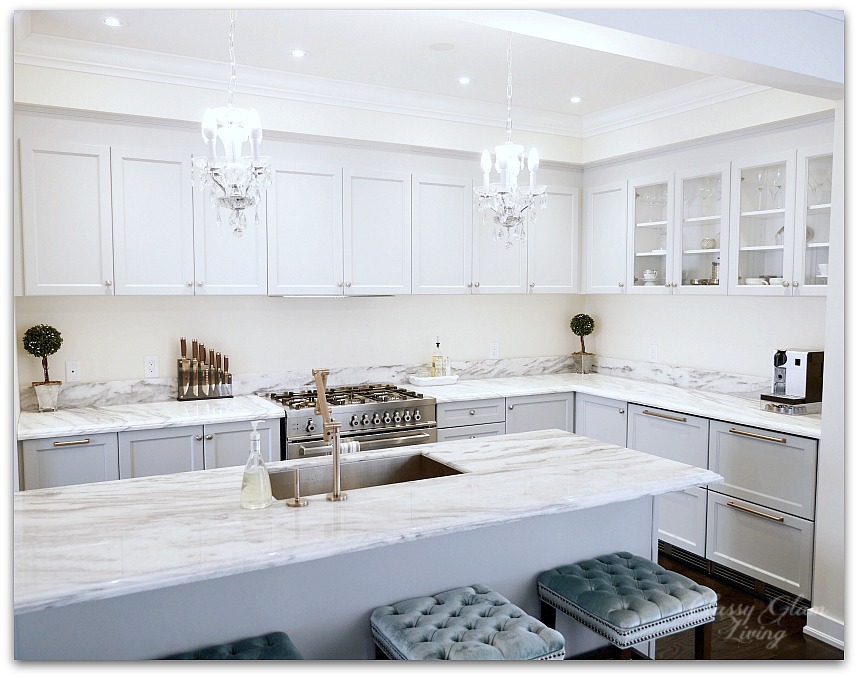
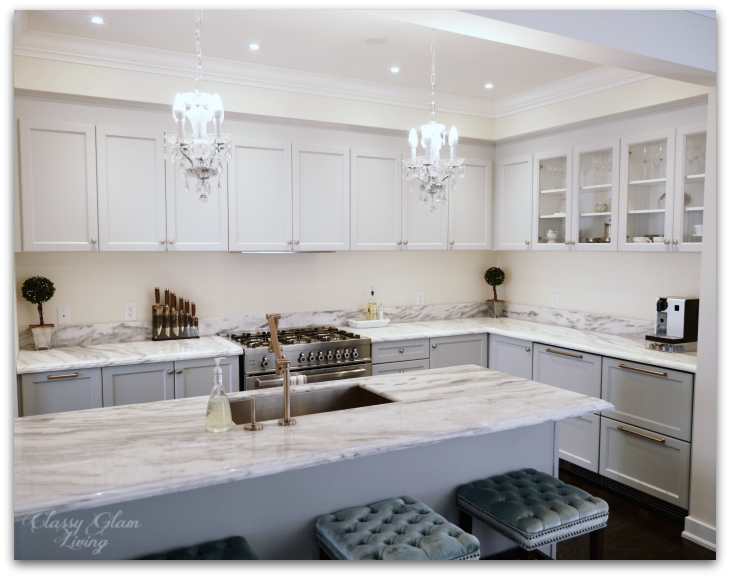
The designs we've integrated into this builder's kitchen allowed for ample counter space, which was a priority for this utilitarian kitchen. We've added our personal touches to make it more luxe and less utilitarian.
The kitchen is very close to completion. It's got most of the large items down, and it looks and functions amazing as is. Here is a list of what's left to tackle:
Install mirror backsplash
Build more drawers in lower cabinets
Install glass shelves for the glass cabinets
Install LED rope lighting for under the upper cabinet
Install valence
and I forgot to mention to the Mr. that I want the builder's dinky trim at the bulkhead replaced with a thicker one ;-)

To see how this kitchen design came about, check out our previous posts: