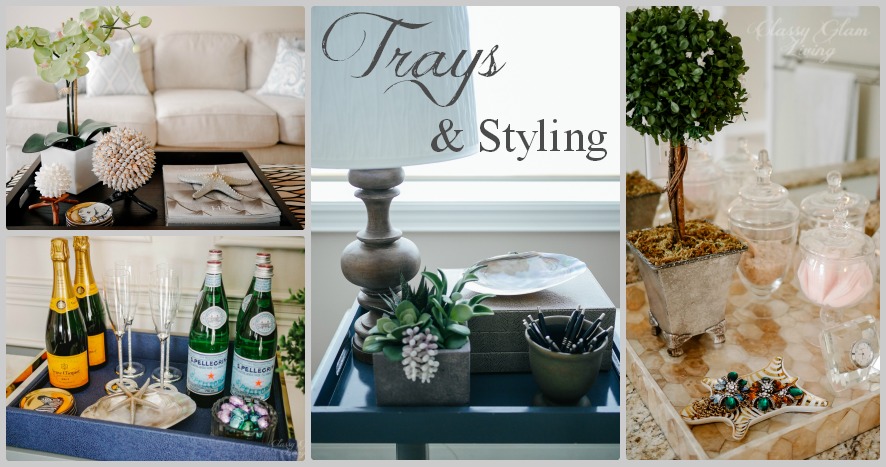
My Current Obsession: Trays and Styling
/
Back when little man was still a baby, the forward-thinking mom in me took a look at our wooden coffee table with sharp corners and declared to the Mr. that we should replace it with something soft. Seeing how babies who are learning to walk love to pull themselves up against furniture to walk around them, you can never be too cautious (especially with us being first time parents)! For practical reasons, we decided to get an upholstered ottoman with ample storage inside for little man's toys (and our issues of unread magazines).
Problem was, we needed a hard surface on which to place our TV snacks/ drinks. That was what prompted us to make our first tray purchase, and the start of an obsession...
This was the large tray we got from Pottery Barn for our coffee table / ottoman in the family room. We love keeping copies of the Restoration Hardware catalogue on the tray (we're always in awe and inspired by how they style the rooms). Just in time to switch to the most recent copies we got in the mail!
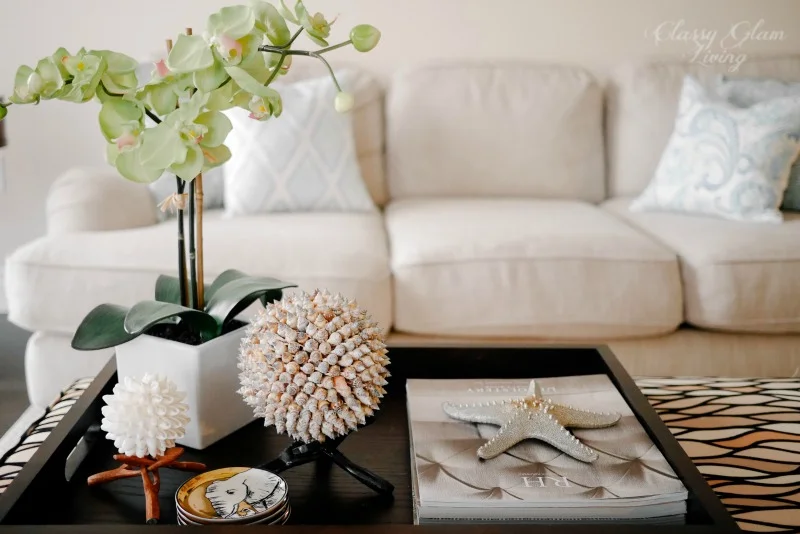
Ever since getting that first tray, we loved using trays to keep a large surface clutter free. The tray is like a clutter boundary - keep your clutter in it, and makes the rest of the surface much neater... or at least I try to keep it that way!
The tray in our office keeps our stationeries easily accessible, while keeping our workspace bright with that wooden lamp.
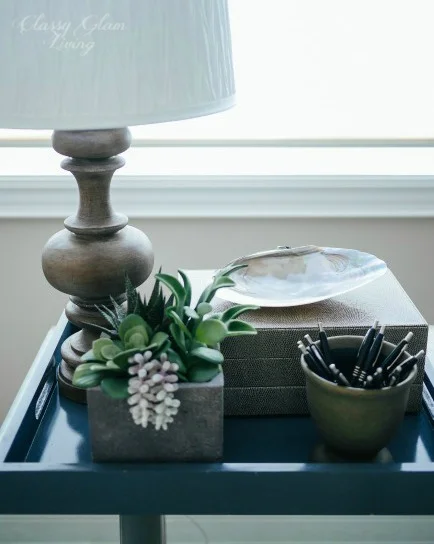
Creating a tray vignette is a great way to add a little personality to a room. Here in our home office, it makes working less dull with something pretty on the desk.


In addition to personalizing a space, trays also make cleaning much easier. We have a long counter in our bathroom, and I found cleaning the counter much easier than my pre-tray days. I just need to haul away the whole tray and give the counter an easy wipe-down. No more moving individual canisters while I clean up.

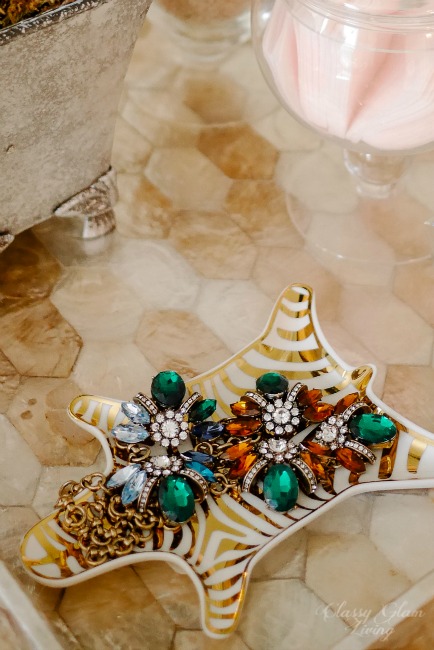
A sparkly mirror tray in the dressing room helps gather up bottles...

... and free up some space for another mirror tray for some knick knacks - my ring holder, clock and oil diffuser.


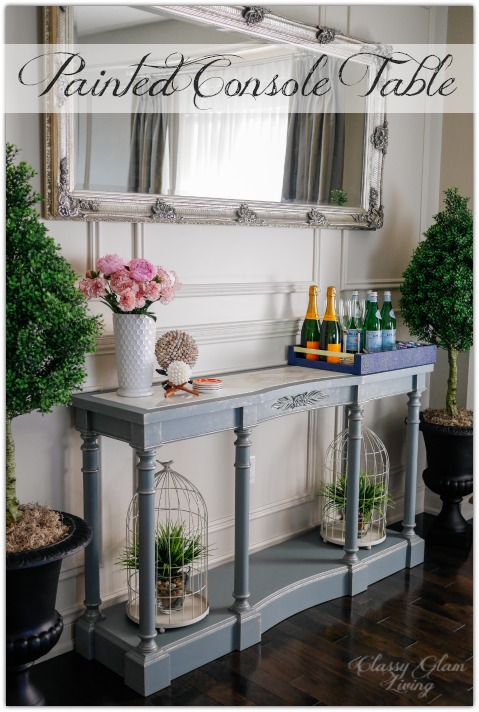
Our tray obsession continued on our last trip and we brought home this faux shagreen tray from Z Gallerie. We loved its color, and the stylish gold handles make it a perfect piece for entertaining. It now sits nice and proud on our dining room console table.

I'm not sure why we've only been getting four-sided trays. But we're now eyeing these beauties!
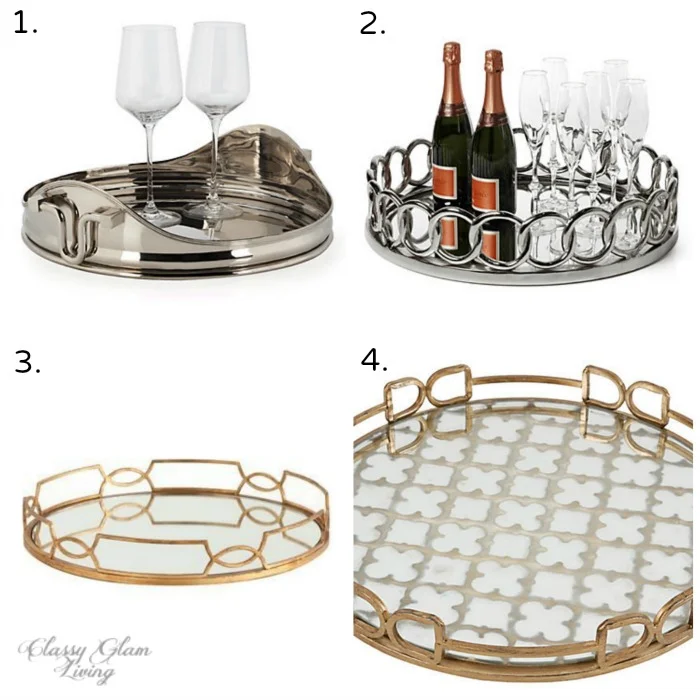

via Almost Makes Perfect
Now go on to get organized and beautify your space with trays!