Styling a Holiday-Ready Bar Cart
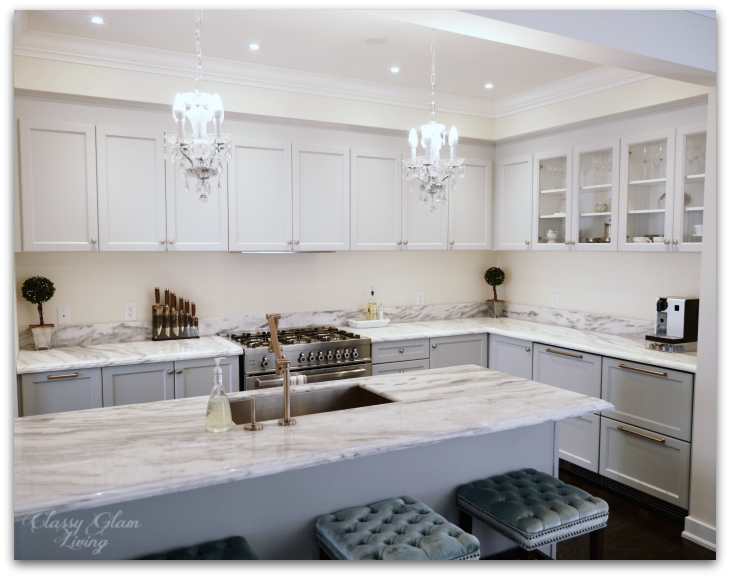
/It wasn't until our little guy's CONSTANT offer to help us with Christmas decorating turned into an ultimatum ("are we putting up our tree today?"), that I finally dug out our Christmas decorations. Am I ever glad that the Mr. had the foresight to separate the Christmas decor from the rest of the decor boxes. It didn't make the discovery process any less overwhelming though. Just to name a few greeneries - I forgot I had 4 pre-lit garlands, 1 tall Christmas tree, a short one, 2 pre-lit outdoor trees, and 3 wreaths... not sure if I missed anything else. Did the little man actually help? Yes, sort of. Did we put up every one of these greenery? Uh... how about you take a look for yourself here...
The Christmas tree? Done! The staircase? Check. Coffee table? Still reinventing. Entryway table. Finalized.
Oh, that was a lot of work. I need a drink... now!

Lucky for me that our bar cart is holiday ready! Here are a few quick tips to get yours looking pretty and functional to impress your guests!
1. The Obvious
Liquors / Glassware / Barware
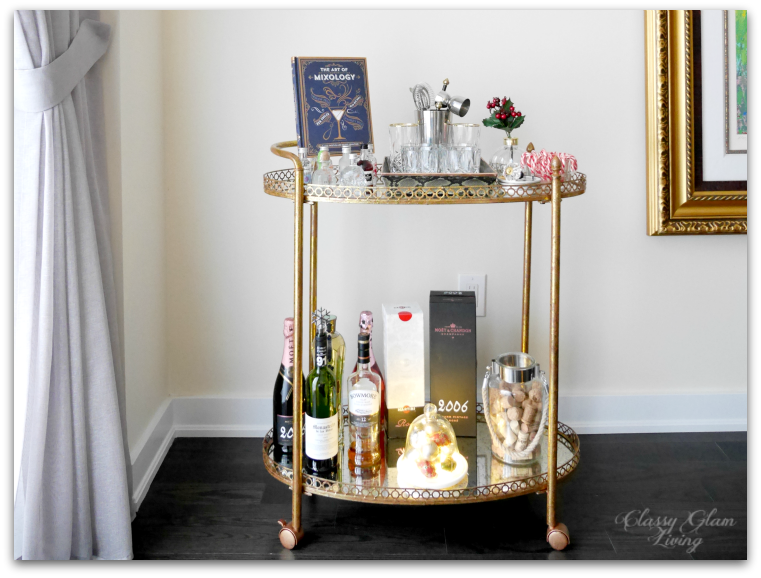
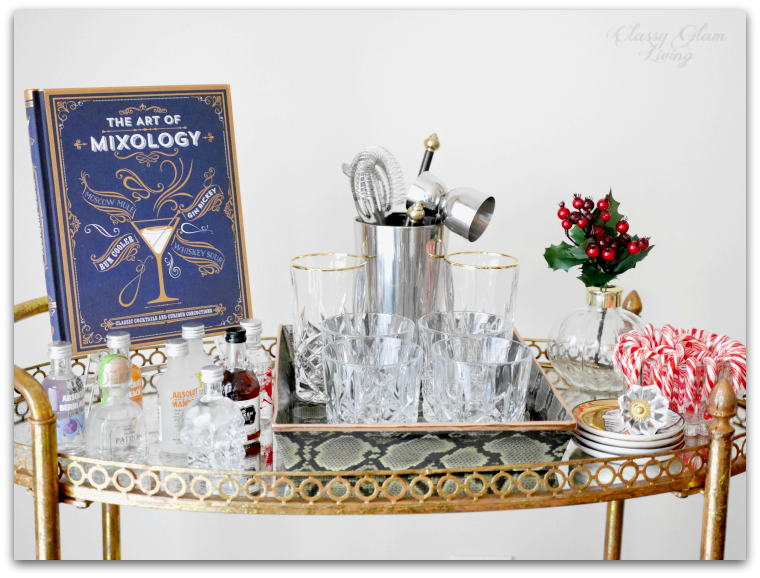
Have a few bottles of your favourite drinks on hand. For the holidays, champagne is always a good idea! Sparkling wine, red wine, and champagne are constant staples at our house. We keep the tall bottles on the bottom tier of the bar cart so that little man's freely swinging crazy arms won't knock down any.

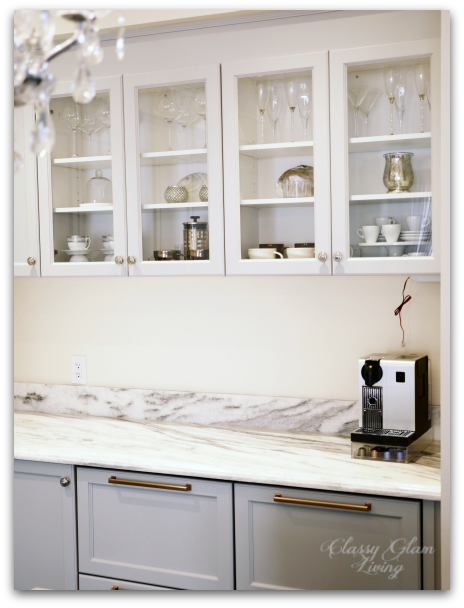
It makes sense to put out on the bar cart the glassware for what you usually consume. For safety reasons (see above), we put our stemware in our kitchen cabinet. The top of our bar cart now has a pretty display of our rocks glasses and handy bar accessories.
2. The Decor
Greenery
A touch of green livens up any decorated space, even one as tiny as the bar cart. Here, just a sprig of holly leaves and berries in the corner makes the bar cart all the more welcoming.

GREENERY FROM BOWRING (SIMILAR ARRANGEMENT AT TARGET)
Artwork
On the wall or on the bar cart, the artwork completes the look of the cart by giving it height and a touch of sophistication. On ours, I used a mixology recipe book with a pretty cover that does double duty, perched onto an acrylic easel.
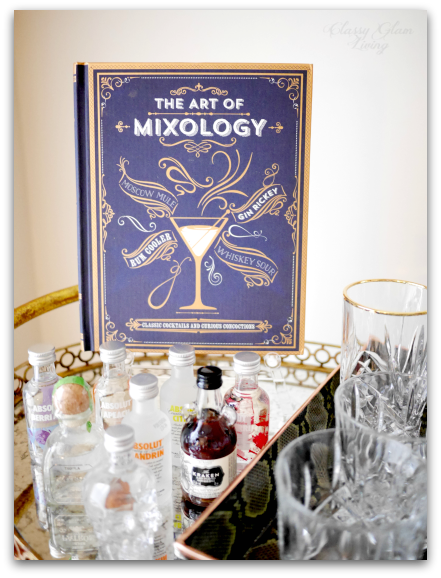
THE ART OF MIXOLOGY (AFFILIATED LINK); ACRYLIC EASEL FROM CB2
Tray
Having a tray on any surface helps to corral items and contain mess. Here, I DIY'ed a tray for glassware using duct tape, inspired by Megan's shoe box tray. The copper foil tape helps hide my DIY mess and nicely mimics the gold rim on the highball glasses.
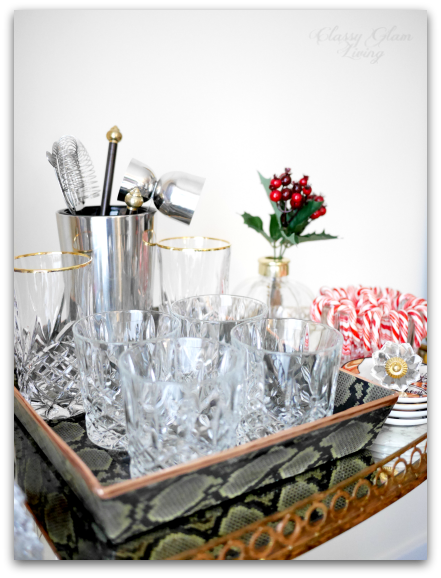
SCOTCH DUCT TAPE IN PRETTY SNAKE (AFFILIATED LINK); FOIL TAPE FROM MICHAELS
Seasonal Decor
Dress up the bar cart with some small scale seasonal decor so that it's ready for any party thrown its way! I had limited space on ours, so a small bowl of mini candy canes and a whimsical display of ornaments in a lighted cloche are plenty enough.


Feeling Adventurous
Yes, I know, less is more when it comes to decor. But for some, decor and alcohol draws a fine line. Who can resist these cute mini bottles of liquors, or a dazzling bottle stopper on Jonathan Adler's Animalia coasters? I may just add some playful cocktail napkins and fun straws to the mix!
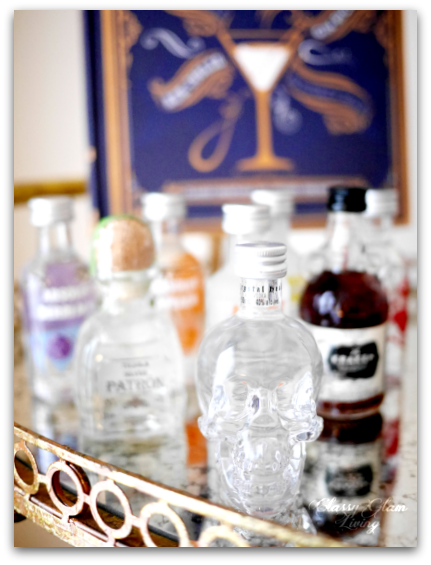
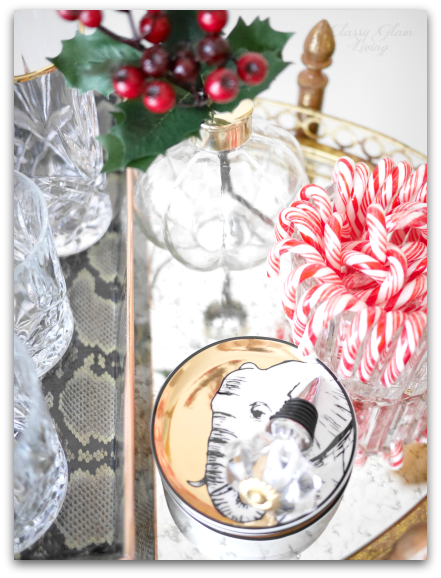
JONATHAN ADLER ANIMALIA COASTERS; BOTTLE STOPPER FROM HOMESENSE (WHAT I REALLY LOVE)
Prepping a bar cart for the holidays is no different than decorating any space in your home. Starting with the basics in #1, and then adding in layers of #2 takes minimal effort but will surely leave your guests impressed. Just make sure you restock the empty bottles while you're at it!