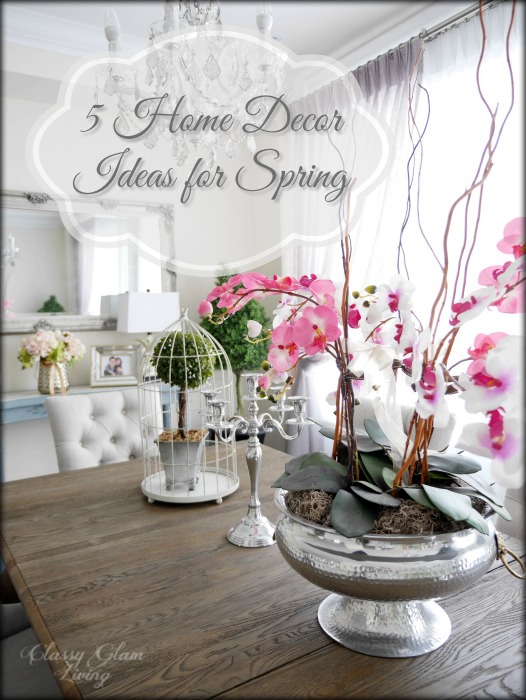
5 Home Decor Ideas for Spring
/
Our recent weather in town was like a roller coaster ride. A week of warm double digit temperature plunged to deep freeze temperature, and this week we're getting another taste of the sweet warm weather! I'm not complaining of an early start of Spring, but welcoming the warmth full force by refreshing our home's Spring decor.
It's always fun to reinvent new ways of decorating with what you have, and I've committed to using most of our existing Spring decor accessories from years past.
At our house, I've added some easy touches to give our decor for a fresh Spring look. Here are 5 simple things that help bring Spring to your home.
1. Chirpy Birds, Nests, and Colourful Eggs
What's Spring without chirpy birds singing at your window (and wake you up so you can't sleep in on weekends)? I've invited these ceramic birds into our entryway for a happy, welcoming sight. I kept our entryway decor simple, and layered on some easter eggs and nest decor for some colours.


Here's a previous version at our old house, using the same accessories.
2. Other Natural elements - Greenery / Floral arrangements
If your house isn't already an indoor garden, adding plants or fresh (or faux) flowers would immediately breathe new life into your home.
For me though, I don't particularly have a green thumb. Spending around 6 hours of awake time at home after work, minus dinner and family time, doesn't leave me much time or energy to care for plants. I rely on my trusted faux floral friends to bring us some colours until it's time to switch to fall and winter decor.
So, wherever I can find a spot, I would add some greenery or faux floral arrangement to liven up our neutral space.
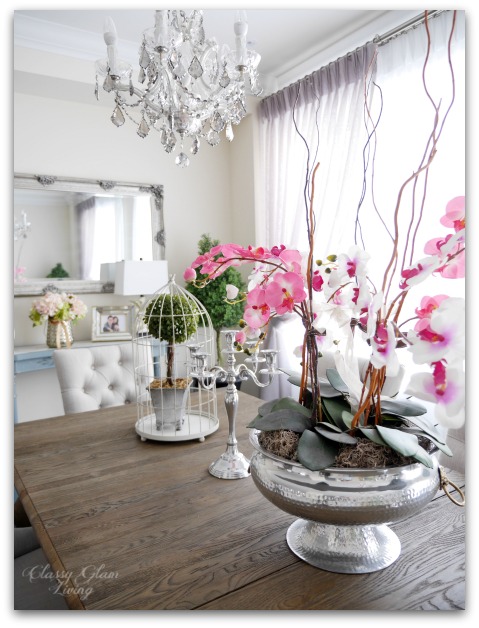
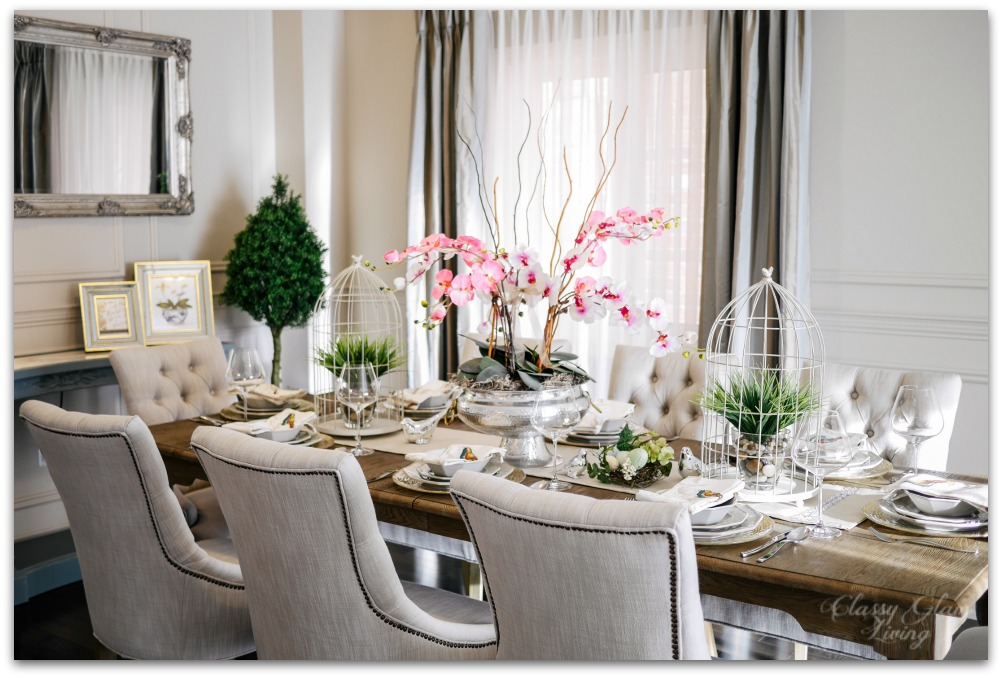
Here in the dining room:

We haven't decorated our powder room, so a simple arrangement of hydrangeas adds some much needed colour in it.

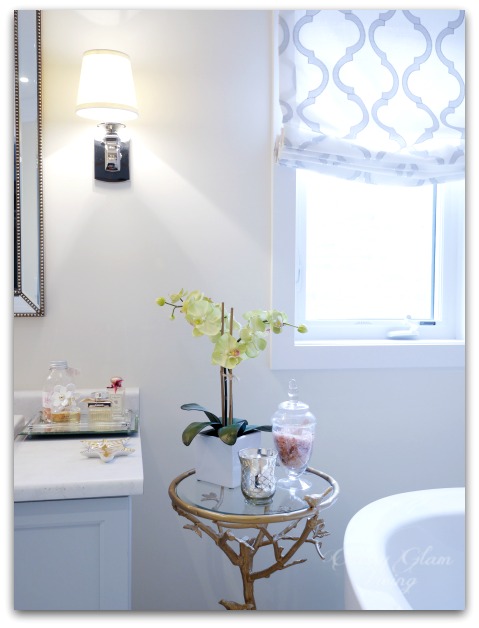
I've moved this pot of faux orchid around our house, but I think it's finally found a home in our master ensuite.
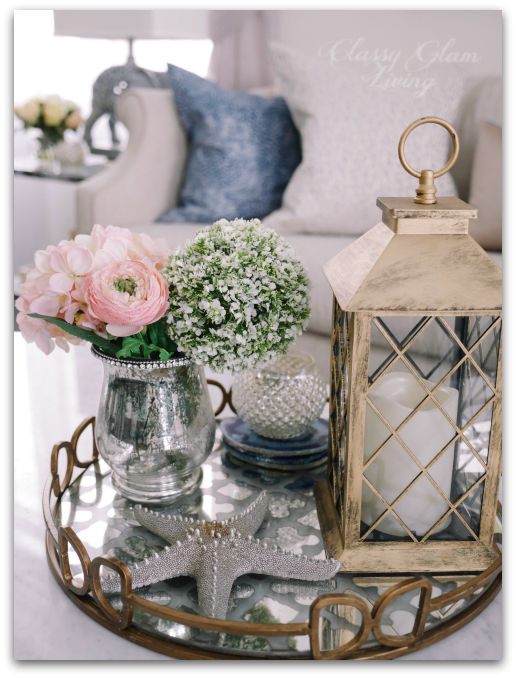
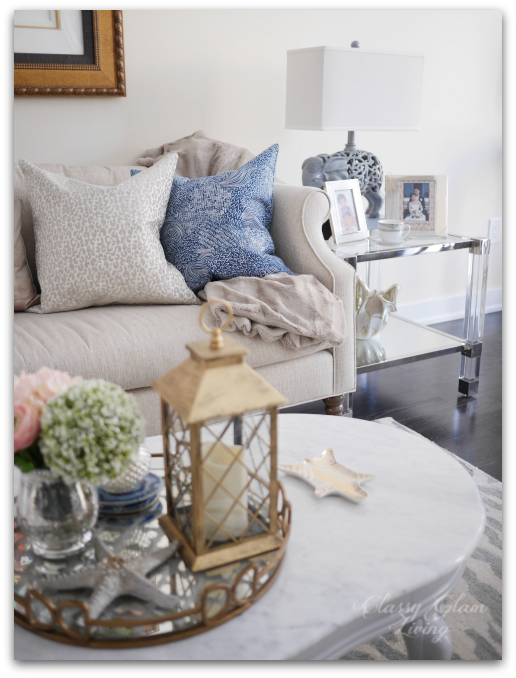
Here in our family room, a pot of faux grass gives all the navy decor a pop of colour.

Back at our old house, we had 2 versions of Spring tablesetting. This is the dramatic, which we used while we staged our house for sale:

This second version was what the Mr. thought didn't have enough oomph. Very well...


Aside from the greeneries and floral arrangements, displaying fruits in the kitchen is another simple way to add some natural elements to enhance your Spring decor.
I confess, this chrome birds and twigs tray is a new addition to my Spring decor collection. It's so unique that I just had to grab it from Homesense, even though I had no idea what to use it for... until I ran out of room on our usual fruit tray with all those clementines the Mr. brought home from grocery shopping, and into this tray they went.

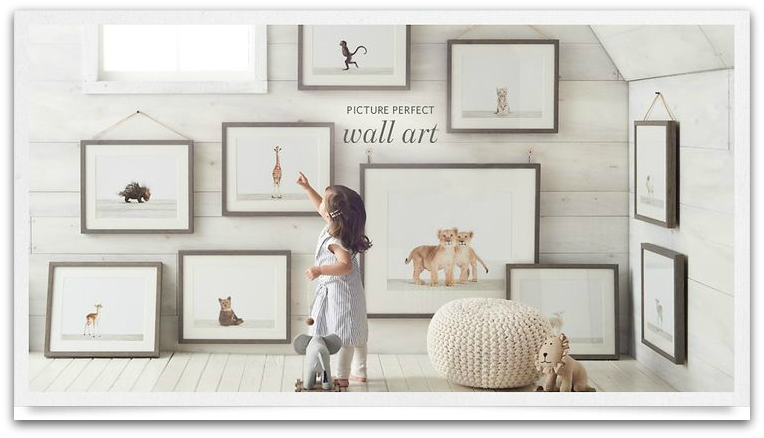
3. Colourful Art
All the greeneries and colour don't end with plants and flowers. If you had furry pillow covers through the winter months, it's time to replace them with some Spring covers. For me, these water colour floral cushion covers are a natural extention from the florals and plants around the house.


Bluebellegray cushion from Chapters Indigo

Pillow cover from Craftberry Bush
Another quick and inexpensive way to add some colours around the house would be with some free printables of Spring. I love Craftberry Bush's water colour printables and she has this cute Bless Our Nest printable for free on her website!
If you don't have a colour printer available, it's very inexpensive to print this at a local print shop. I usually print my quicky artwork on a light weight cardstock at Staples. You can't beat a decent quality print for under $1!

via Craftberrybush
4. Light weight linens
From window treatments, to throws, to your bedding, it's just natural to change out the heavy weights to light weights as warm weather descends upon us.
Replacing heavily woven drapery fabrics with lighter fabrics, such as belagian linen, doesn't only lighten the wintery feel, but also lets in more light. You may consider a sheer-on-sheer window treatment, like this in our dining room, to get the most light through your windows.

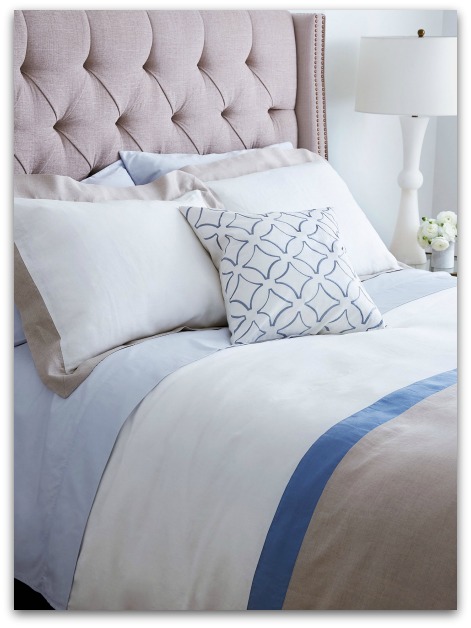
Are you still using flannel sheets, with Christmas themes? Updating your bedding with some light and colourful fabrics is a great way to indulge in the spirit of Spring. Our fabulous Canadian designers have come out with some gorgeous bedding that make us long for Spring.
From Sarah Richardson's own textile line:

To Samantha Pynn's collection for Simons:
5. Fresh Scent
Who doesn't love walking into a fresh smelling house? I used to love plug-ins with floral scents, but recently I've grown to love clean scents. One of my favourites is White Tea by Westin. Yes, that's Westin as in the Westin hotel chain. White Tea is their signature scent that welcomes you as you walk into their hotel lobby.
I'm so glad that they actually sell this scent, but it doesn't come cheap. My trick to prolong its usage is to use it with an oil diffuser, which most people use to disperse essential oil for aroma therapy.

White tea oil diffuser; Wood grain oil diffuser (affiliated links)
I put 5 drops with a medicine dropper into the diffuser's reservoir, and off it goes for about 8 hours. The scent that comes out of it is never too strong, but just enough to travel through our ground floor.
It brings back vacation joy each time I take in a whiff of its scent. The oil diffuser is tucked into a corner at our dining room, behind the wall of picture frames on the table. It's not something meant to be seen; just a subtle reminder of its delicate scent will do.

It's so tempting to shop all the beautiful new decor that the stores are carrying for Spring. It can also be overwhelming when there're so much goodies to choose from. If I can, I would bring the whole store home... But with a limited budget or limited patience for shopping (like these miserable men), having a list of general decor ideas would hopefully deter you from overloading your shopping cart. Guilty of that?